【2025 Ultimate】Button Lithium Battery Assembly Guide
Precise control at every stage—from material weighing to encapsulation pressure—is essential for obtaining reliable electrochemical test data.
As lithium battery R&D engineers, the quality of button lithium battery assembly directly impacts the accuracy of electrochemical test results when evaluating new material performance. A qualified button battery requires not only strict adherence to operational procedures but also precise control over every detail.
Laboratory assembly of button lithium batteries typically employs a half-cell configuration, utilizing metallic lithium foil as the counter electrode and reference electrode, with the material under test serving as the working electrode. This setup effectively evaluates key metrics of cathode or anode materials, including specific capacity, initial efficiency, cycling performance, and rate capability.

I. Preparation and Selection of Button Lithium Battery Assemblies
Battery Case Specifications and Selection
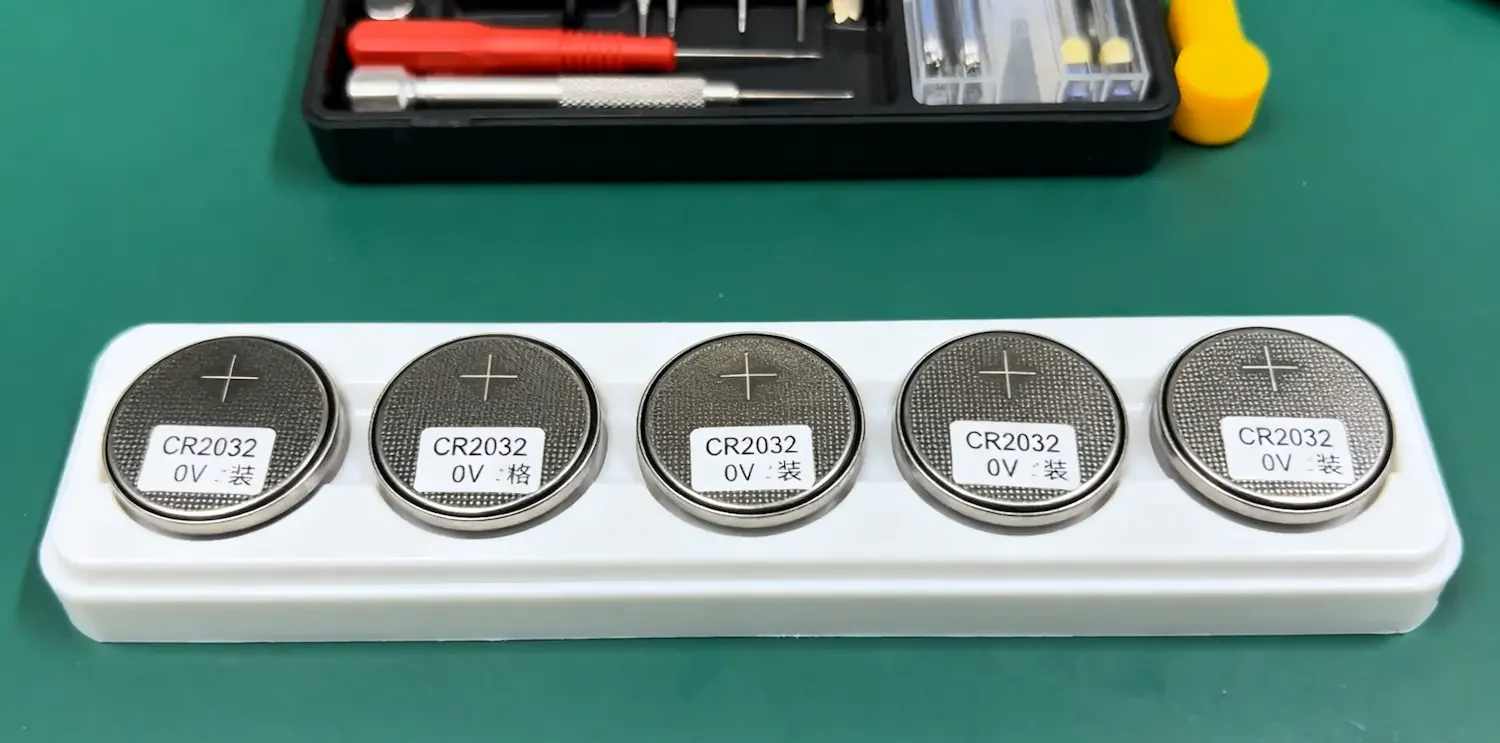
CR2032 is the most commonly used button battery model. Here, “C” denotes the battery system (MnO₂ cathode), “R” indicates a circular shape, the first two digits represent diameter (20mm), and the last two digits denote thickness (3.2mm).
Other common models include CR2025 (2.5mm thickness) and CR2016 (1.6mm thickness). When selecting battery cases, the positive case is larger and flat, while the negative case is smaller and features a mesh structure.
Key Component Functions of Lithium Button Cells
Lithium-ion button cells primarily consist of the positive shell, negative shell, electrode sheets, separator, gasket, spring, and electrolyte.
The separator typically uses Celgard 2400 or similar polypropylene/polyethylene microporous membranes, with a diameter slightly larger than the electrode sheets to prevent internal short circuits. Its core function is to isolate the positive and negative electrodes while allowing lithium ions to pass through.
The metallic lithium foil serves as the counter electrode, typically measuring 15.8mm in diameter (corresponding to CR2032) with a thickness of 0.5-0.8mm. The lithium foil must remain flat with burr-free edges to prevent membrane puncture.

II. Preparation Process for Button Lithium Battery Electrodes
Material Selection and Proportioning
The ratio of active material, conductive agent, and binder is critical to electrode performance. A common ratio is 8:1:1 (using lithium iron phosphate cathodes as an example), meaning 80% active material, 10% conductive agent, and 10% binder.
Conductive agents typically include Super P, acetylene black, or carbon nanotubes. Binders may be PVDF (oil-based) or PTFE (water-based). Silicon-based anodes require increasing the binder ratio to 20% and adding carbon nanotubes to enhance conductivity.
Slurry Preparation and Coating
When preparing the NMP/PVDF solution, the concentration is typically 0.02-0.03 g/ml, stirred magnetically until completely dissolved.
The slurry preparation sequence is critical: first add the NMP/PVDF solution, then add the conductive agent and stir for 20 minutes, finally add the active material and stir for 4-5 hours. A high-quality slurry should have moderate viscosity, neither too thin nor too thick.
During coating, aluminum foil is used for the cathode, and copper foil for the anode. Aluminum foil undergoes lithium intercalation at low potentials to form lithium-aluminum alloys, making it unsuitable as a negative current collector. Copper foil oxidizes readily at high potentials, rendering it unsuitable as a positive current collector.
Drying and Compaction Process
Electrode sheet drying occurs in two stages: forced-air drying removes most solvent (NMP), followed by vacuum drying to eliminate residual moisture. Positive electrode drying temperature must not exceed 120°C, while negative electrode drying should not exceed 90°C.
Compaction is a critical step, where the electrode sheet is compressed to 15-60μm using a roller compactor or tablet press. Appropriate pressure (80-120 kg/cm²) enhances sheet strength and reduces ohmic resistance, but excessive pressure may cause sheet curling.


III. Button Lithium Battery Assembly Process

Component Pre-treatment
All metal components (battery casing, gaskets) must undergo repeated ultrasonic cleaning with alcohol, followed by drying in a forced-air drying oven. Separators must also be cleaned with acetone and vacuum-dried.
All operations must be performed in an inert atmosphere glove box with water and oxygen content controlled below 1 ppm to prevent lithium plate oxidation and electrolyte decomposition.
Assembly Steps
Place components sequentially from bottom to top: negative electrode casing → spacer → electrolyte → metallic lithium plate → electrolyte → separator → electrolyte → positive electrode plate → spacer → spring clip → positive electrode casing.

Ensure all components are centered to prevent internal short circuits. Add an appropriate amount of electrolyte (approximately 100-150μL for CR2032) to fully saturate the separator.

Sealing and Inspection
Using a button cell sealing machine, adjust pressure to approximately 800Pa and press for 5 seconds to complete sealing. After sealing, inspect the battery for visual integrity and any signs of leakage.
Measure open-circuit voltage with a multimeter. The positive electrode half-cell should exceed 3V, while the negative electrode half-cell should fall within 2.5-3.5V. Abnormal voltage indicates potential short-circuiting; discard the battery.

IV. Quality Control and Troubleshooting for Button Lithium Batteries
Electrode Sheet Quality Assessment
High-quality electrode sheets should meet the following criteria: uniform slurry coating with no significant thickness variations; intact circular shape with no burrs along the edges; coating area free of particulate matter and without noticeable powder shedding.
The areal capacity of electrode sheets should be set at 2–4 mA·h/cm². Values too low may overestimate material performance, while excessively high values fail to reflect practical application value.
Common Issue Analysis
Battery short circuits typically result from separator punctures or component displacement. Ensure lithium foil is flat and the separator diameter is sufficiently large (greater than both the electrode and lithium foil).
Abnormal voltages may stem from insufficient electrolyte, component contamination, or poor sealing. Assemble no fewer than five batteries of the same material type per batch to minimize random errors.

V. Button Lithium Battery Testing and Data Analysis
Electrochemical Performance Testing
Successfully assembled button batteries can undergo testing for cycle performance, rate capability, and initial capacity. Utilize Blue-Tech or Neware testing systems, setting appropriate current density and voltage ranges.
When comparing test data from different materials, ensure consistent electrode preparation conditions (active material loading, compaction density, electrolyte system). Otherwise, results will be unreliable.
Key Points for Data Interpretation
Half-cell test results may differ from actual full-cell performance, particularly with overestimated cycle life and rate capability. Thin electrodes, excess electrolyte, and lithium-on-electrode effects can all enhance test outcomes.
Focus on core parameters such as specific capacity utilization, first-cycle efficiency, and capacity retention rate. Evaluate material performance by comparing these metrics against industry benchmarks.
Laboratory button cell assembly is a fundamental skill in lithium battery R&D, requiring meticulous attention at every stage—from precise material weighing to glove box environment control, from uniform slurry preparation to encapsulation pressure adjustment.
Mastering these critical technical points not only yields reliable electrochemical test data but also provides a solid foundation for new material development and battery system optimization. Whether in academic research or industrial R&D, standardized button cell assembly procedures serve as the primary safeguard for data reliability.