Lithium Battery Pack Insulation Resistance and Hipot Testing
Every lithium battery pack I sign off on leaves the factory having passed two electrical safety tests that most buyers never see: insulation resistance (IR) measurement and hipot, or dielectric-withstand, testing. After fifteen years building packs for telecom, energy storage and industrial equipment, I treat these two checks as the line between a safe product and a field failure. A pack can look perfect on a capacity curve and still have a hairline path to ground that grounds a technician or trips a site during a storm. This guide walks through how I specify and run lithium battery pack insulation resistance and hipot testing, the numbers that matter, and the standards behind them.
What Insulation Resistance Actually Tells You
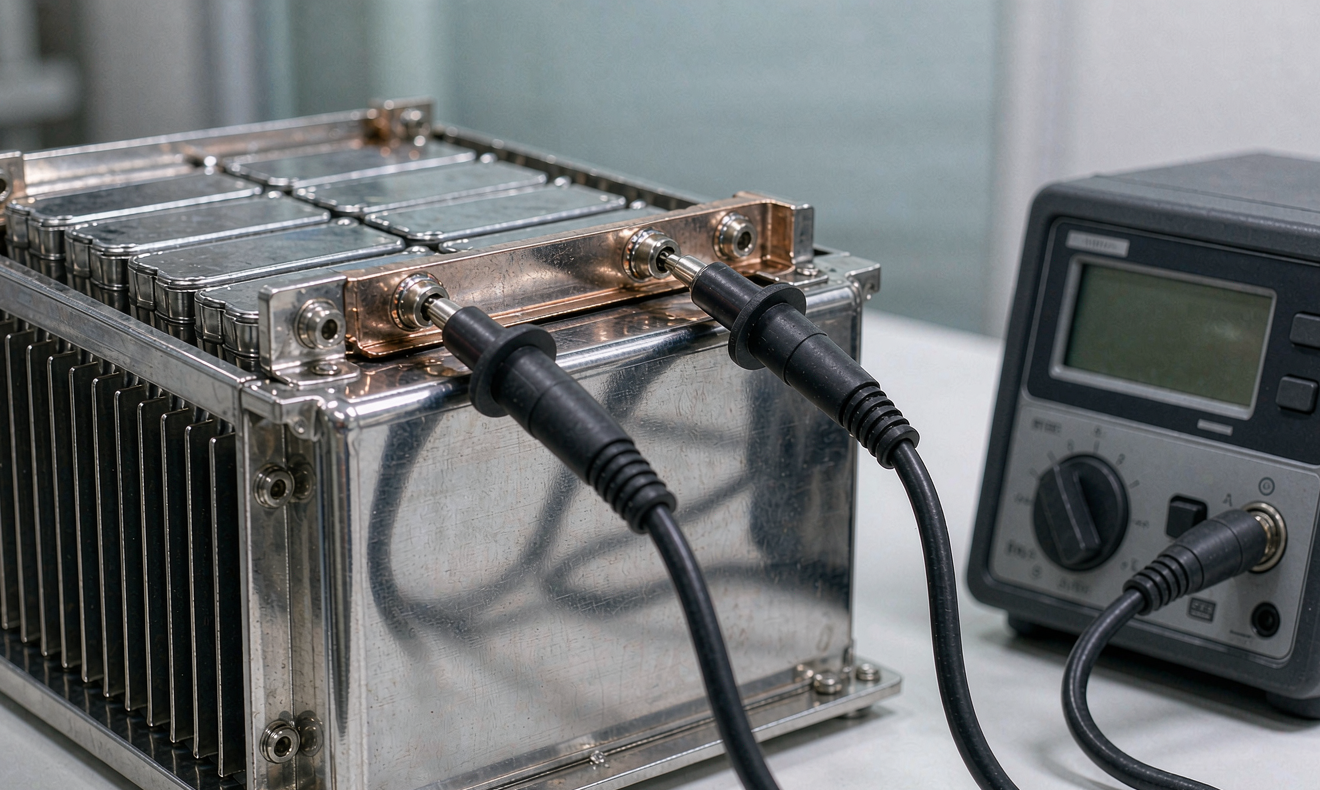
Insulation resistance is the resistance between the live conductors of a lithium battery pack and every conductive surface a person or another circuit can touch: the enclosure, the mounting frame, the shield of a communication cable, the vehicle chassis. A megohmmeter, often called a megger, applies a known DC voltage across that gap and reads the leakage current, then reports the resistance.
The point is to prove there is no low-resistance path to ground. A healthy pack reads in the megohms or hundreds of megohms. As the insulating materials age, absorb moisture, or pick up conductive contamination, that number falls. When it drops far enough, a fault current can flow through the case instead of through the designed circuit, which is exactly how enclosures become live and how spurious trips start fires in adjacent equipment.
I measure IR with the pack de-energized and disconnected from every load. The meter injects 500 or 1000 volts DC depending on the pack rating, holds for sixty seconds, and I read the stabilized value. Reading too early gives a falsely low number because the dielectric is still charging, so the sixty-second soak is not optional.
Hipot Testing Is the Harder Sibling
Where insulation resistance asks how good the isolation is, hipot asks how much voltage the isolation can survive. A dielectric-withstand test ramps a high AC or DC voltage between the conductors and the accessible surfaces and holds it for a set time, watching for breakdown. If the insulation arcs, carbonizes, or leaks above the allowed current, the pack fails.
The two tests complement each other. IR is a sensitive ohmmeter check that catches gradual degradation; hipot is a stress test that catches marginal clearance, a trapped screw, a nicked wire, or a void in the potting. I run both on every pack because a pack can pass IR at 100 megohms yet still break down at the hipot voltage if a spacer has shifted by a millimeter.
For a lithium battery, hipot is always done at a voltage well above anything the pack will ever see in service. The goal is to prove margin, not to find the exact failure point. A good test passes with leakage current far below the limit and leaves no damage behind.
Test Voltages and Limits by Pack Rating
There is no single hipot number; it scales with the pack’s working voltage. A common rule for battery systems is twice the maximum operating voltage plus one thousand volts, held for sixty seconds. For a 48 volt nominal pack that lands around 1500 volts DC. For a 400 volt vehicle or stationary module the figure climbs toward 2000 to 3000 volts.
| Pack working voltage | Typical IR test voltage | Typical hipot test voltage | Leakage limit |
|---|---|---|---|
| 12 to 24 V | 500 V DC | 500 to 1000 V DC | under 1 mA |
| 48 V nominal | 1000 V DC | 1500 V DC | under 1 mA |
| 100 to 200 V | 1000 V DC | 2000 V DC | under 5 mA |
| 300 to 400 V | 1000 to 1500 V DC | 2500 to 3000 V DC | under 10 mA |
I always confirm the limit against the applicable standard rather than trusting a table, because some standards specify AC hipot while others allow DC, and the pass current differs. The numbers above are the working ranges I use for in-house screening; the certified test on the datasheet follows the cited standard exactly.
How I Run the IR and Hipot Sequence
My production sequence is fixed so results are comparable pack to pack. First I visually inspect for trapped hardware and verify the enclosure is sealed. Then I measure insulation resistance from each pole to the enclosure at the rated megger voltage, logging the sixty-second value. Next comes hipot: I ramp the test voltage slowly to avoid a transient spike, hold for the full duration, and record the steady leakage current.
- Disconnect the battery management system sense lines if the standard requires a dead pack, or follow the maker’s test mode.
- Apply IR voltage for a full sixty seconds and read the stabilized megohm value.
- Ramp hipot to the target voltage over two to five seconds, never as a step.
- Hold for sixty seconds and watch the leakage current, not just the pass lamp.
- Record both readings against the pack serial number for traceability.
- Discharge the pack and test fixtures fully before anyone handles the unit.
The slow ramp matters. A sudden step can ring through the capacitance of a large pack and read as a false trip, or worse, stress a component that would have survived a controlled rise. I also keep the test fixture itself clean, because a film of flux or dust on the jig will drag every reading down.
Failure Modes and What They Mean
A low IR reading almost always points to one of three things: moisture, contamination, or crushed insulation. Moisture shows up as a reading that climbs as the sixty-second soak continues, because the dielectric is still polarizing; contamination from flux, dust, or a conductive particle gives a flat but low number; crushed or pierced insulation from a misplaced standoff gives a very low, stable reading near a hard short.
Hipot failures are louder. A flashover inside the pack means a clearance is too small for the test voltage, a trapped strand of wire is bridging a gap, or the potting has a void. A creeping leakage that sits just under the limit usually means surface contamination on a board edge or a fingerprint film on a high-voltage connector, and it is the kind of marginal result that becomes a real fault after a humid summer.
When I see a failure I do not just reject the pack; I trace it. A single low reading on one of fifty packs in a lot tells me a process step drifted, and fixing that step protects the next thousand units more than scrapping one pack does.
Standards and Certification Behind the Test
The reason these voltages and limits exist is the body of safety standards a lithium battery pack must meet to ship and sell. Cell-level safety is covered by IEC 62133, which sets the dielectric and internal-short criteria for portable cells, and by UN38.3, which every pack must pass before it can be transported by air, road, rail or sea. For stationary and industrial systems I also build to IEC 62619, which adds requirements for larger cells and battery management system functional safety.
In North America the relevant marks are UL 1642 for cells and UL 1973 for stationary and motive battery systems. These standards specify not only the hipot and insulation resistance limits but also how the enclosure, terminals and management system must behave under fault. A pack that passes my in-house IR and hipot screen is the baseline; certification is what proves the design meets the same bar a regulator or insurer will ask for.
I treat the test records as part of the product. Every lithium battery pack leaves with its insulation resistance and hipot results logged to its serial number, so a buyer auditing a fleet can see that each unit was proven safe, not just sampled. For a custom battery solution this traceability is often the difference between a one-off order and a multi-year supply agreement.
Frequently Asked Questions
What is a good insulation resistance value for a lithium battery pack?
For low-voltage packs I want to see at least 10 megohms and preferably above 100 megohms at the rated megger voltage. High-voltage modules should read in the hundreds of megohms. Any reading that climbs during the sixty-second soak usually points to moisture and should be dried and re-tested before the pack ships.
What voltage is used for hipot testing a lithium battery?
It scales with the pack. A common in-house screen is twice the maximum operating voltage plus 1000 volts held for sixty seconds, so roughly 1500 volts DC for a 48 volt pack and 2500 to 3000 volts for a 300 to 400 volt module. Always confirm the figure against the applicable standard, because AC and DC limits differ.
How often should insulation resistance be tested?
Every pack is tested at final production, and I recommend a re-test at commissioning and then on a scheduled basis for stationary systems, often annually or after any flood, impact or enclosure breach. Transportable packs get tested before each return to service after storage in a humid environment.
What is the difference between insulation resistance and hipot testing?
Insulation resistance measures how much leakage path exists at a moderate voltage and reports it in megohms, catching gradual aging. Hipot applies a much higher stress voltage to prove the isolation can survive a fault without breaking down. They test the same boundary from opposite directions and I run both.
Can hipot testing be done with the battery management system connected?
Usually no, or only in a maker-defined test mode. The management system and its sensing circuits are not built to survive the hipot voltage, so I either disconnect the sense lines or put the pack into a service mode that isolates the electronics before applying the test voltage.
Does humidity affect insulation resistance readings?
Yes, strongly. Moisture on surfaces and absorbed into potting lowers the reading and can produce a value that keeps climbing during the soak. I test in a controlled, dry environment and reject readings taken in high humidity unless the pack is dried and re-checked.
Conclusion
Insulation resistance and hipot testing are the two checks that turn a lithium battery pack from electrically plausible to provably safe. Measure IR at the rated megger voltage and hold for sixty seconds, then hipot at twice the operating voltage plus 1000 volts with a slow ramp and a watched leakage current, and log both against the serial number. Build the design to IEC 62133, IEC 62619, UN38.3 and UL marks, and a custom battery solution leaves the line with margin you can document rather than hope for.
Further Reading
References