Semi-Solid State Battery Post-Mortem Failure Analysis
When a semi-solid state battery comes back from the field, the most expensive mistake is calling it dead, scrapping it, and moving on. Every returned cell is physical evidence: the gel electrolyte, the electrode interfaces, and the residual stack pressure inside the pouch record what went wrong and when. I run post-mortem failure analysis on lithium battery returns at Horizon Power, and it remains the most reliable way I know to separate a design defect from process drift from customer abuse. This article walks through the workflow I use, layer by layer, and the practices that keep the findings defensible.
Why a Formal Post-Mortem Beats a Bench Verdict
The informal version of failure analysis happens on a workbench in five minutes: cell measures zero volts, pouch feels puffy, warranty claim approved, bin closed. That verdict costs nothing up front and everything later, because the same failure keeps shipping. A structured post-mortem on a semi-solid state battery typically costs 5,000 to 15,000 USD per cell once CT imaging and chemistry work are included, and takes one to three weeks. Set against a field population measured in thousands of units, that is cheap insurance.
I treat every analysis as producing three deliverables, not one. First, a root cause expressed in engineering language: which layer failed, through which mechanism, initiated where. Second, a corrective action with a named process owner, because a root cause nobody owns is a root cause nobody fixes. Third, a liability boundary: a written statement of what the evidence proves about the battery and what it proves about the operating history. When the next dispute arrives, and it will, the report is what survives review, not the memory of the engineer who opened the cell.
Non-Destructive Evidence First: Data, Imaging, and Handling
Disassembly is destructive by definition, so everything reversible happens before anything is cut. The sequence matters more than any single instrument.
Field data comes first. I want the BMS logs: cycle count, charge history, temperature exposure, any fault flags with timestamps. I want the incident description from the user in their own words, photographs of the pack as received, and the lot code. An OCV reading and a full EIS sweep at arrival give me a fingerprint I can compare against sibling cells later. Skipping this step is how investigators end up arguing about a cell whose history they never recorded.
Imaging comes next, and a CT scan is the workhorse. At 30 to 80 micrometer voxel resolution, a CT reconstruction of a pouch cell shows electrode misalignment, weld burrs, foreign metal particles, buckled regions, and gas pocket distribution while the geometry is still intact. Once the pouch is open, layers shift and the spatial relationships that point to an initiation site are gone. For localized suspicions I re-scan at 10 to 20 micrometers. A copper particle resting on the separator, the classic internal-short trigger, is easy to find in CT and nearly impossible to attribute after disassembly.
Electrical preparation follows: I discharge the cell through a resistor bank to 5% SoC or below, then let it rest for 24 hours and confirm the terminal voltage sits under roughly 0.5 V. A cell at storage charge carries enough energy to weld a cutting tool to a tab and destroy the evidence in one slip. Transport is its own constraint: damaged or defective lithium cells are refused by air cargo, so returns move by ground in UN-approved damaged-cell packaging under the applicable dangerous-goods special provisions.
Opening the Cell Without Destroying the Evidence
Semi-solid chemistry adds one constraint that ordinary lithium battery teardowns do not have: the gel electrolyte is hygroscopic and chemically live. Open a cell on an open bench and within minutes you are analyzing artifacts of your own room air, not the failure. I open in a dry room or an argon glovebox holding oxygen and water below 1 ppm, and I record the actual dew point in the report.
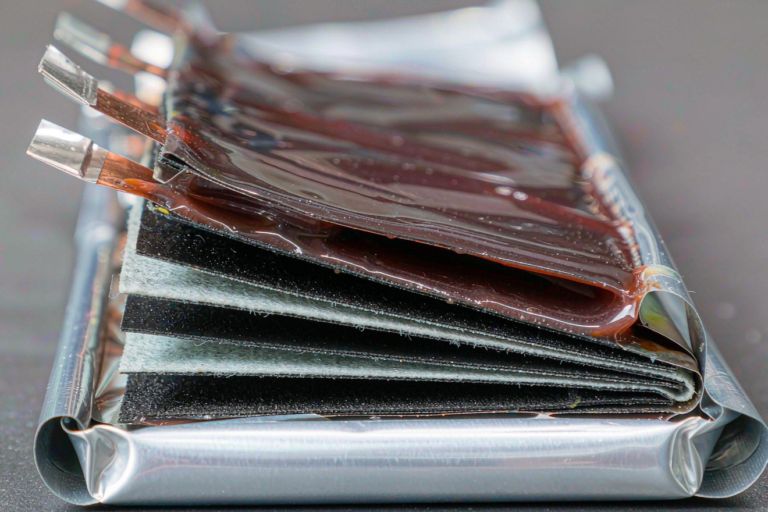
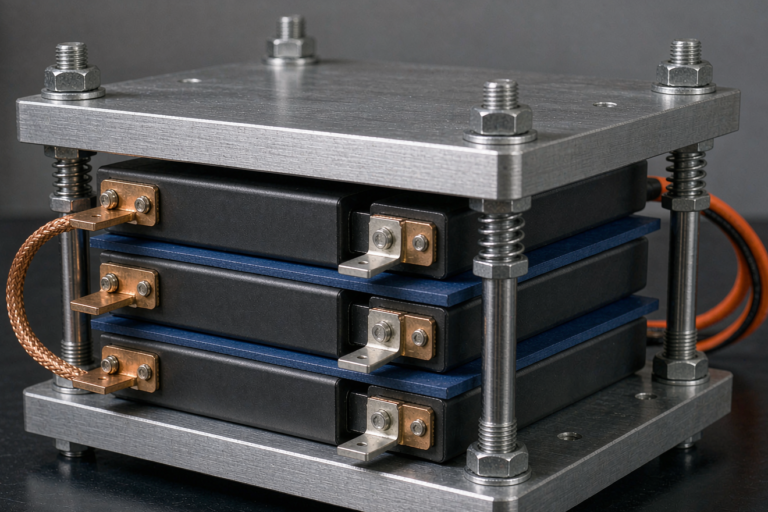
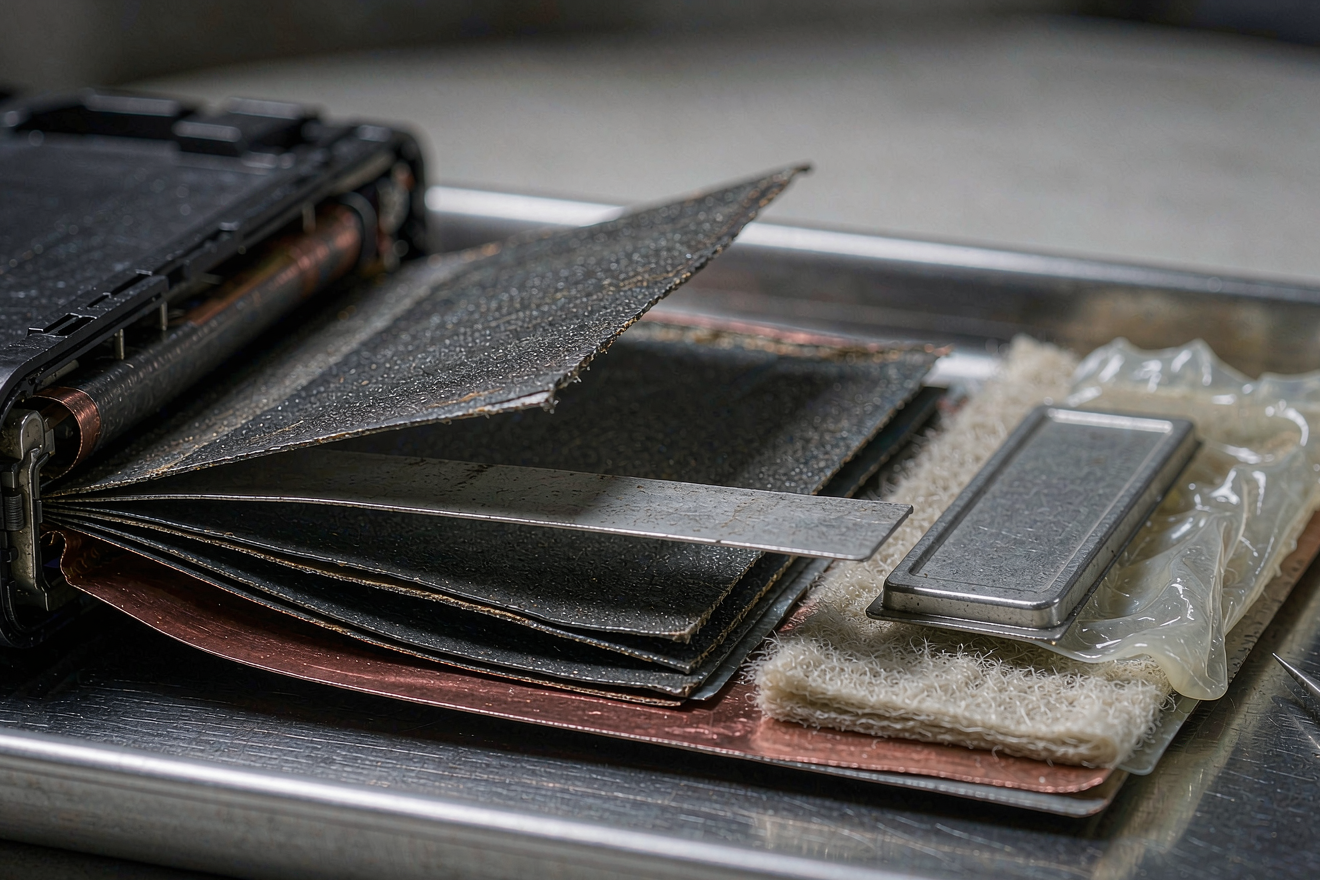
Swollen cells get vented deliberately before anything else. I puncture the gas headspace with a gas-tight syringe and pull a sample for gas chromatography: hydrogen, carbon dioxide, carbon monoxide, and light hydrocarbons each point toward different chemistry. On a swollen 10 to 20 Ah pouch cell, one to three milliliters of gas is typical, and it is enough. Then the pouch foil comes off with ceramic tools, cutting only the margins, never through the stack, and the jelly roll comes out under a light fixture clamp that preserves approximate stack pressure. I sample the gel directly at the failure region and at a reference location for FTIR and Karl Fischer moisture titration, because knowing whether the gel dried, hydrolyzed, or stayed intact changes the whole interpretation.
The Layer-by-Layer Exam
This is where the cell tells its story, and I force myself to end each observation with a number rather than an adjective.
The Anode: Reading the Plating Film
Gray metallic films on graphite mean plated lithium; patchy black or brown films mean thickened SEI. Plating location is diagnostic: metal along the electrode edges points to stack pressure problems or pouch handling, while plating concentrated in the center points to fast charging at low temperature or parking at high SoC. I quantify plated lithium by extracting a disc into a coin cell and measuring the irreversible stripping charge, which lands within roughly 10% of the true inventory.
The Cathode: Cracking and Dissolution
I look for particle cracking and loss of active material under the optical microscope, then quantify both phases with dQ/dV reconstruction from harvested material into half-cells. Transition metal dissolution shows up when I wash the gel and separator and run the washings through ICP-OES; manganese or cobalt at the anode side is the fingerprint of crossover, and it explains capacity loss that cycling data alone never will.
The Gel and the Interfaces
Dewetted patches, interfacial voids, and gel shrinkage get measured as percentages of the active area. Interface voids above a few percent of area correlate with impedance growth and local current crowding, and they usually trace back to coating shrinkage or a stack pressure design that faded over life.
Foreign Material and Contamination
SEM-EDS mapping at 10 to 15 kV finds particles above about 50 micrometers and identifies them: copper from slitting burrs, aluminum from tab trimming, zirconia from ceramic components. Any rigid particle sitting on the separator near a soft short mark is the initiation site until proven otherwise. Ion chromatography on the gel gives fluoride content, which separates HF-driven corrosion from other copper attack at low cell voltage.
From Findings to Root Cause
Evidence becomes engineering value only when each observation maps to a specific process window. Metal along the anode edge maps to seal-area pressure or over-bagging. Copper particles map to slitting and stacking housekeeping. Widespread gel dewetting maps to coating formulation or stack pressure design. A plated-and-cracked cathode combination under a corner of the active area maps to a pouch fold or a fixture pressure point in the module, not the cell itself. I keep a one-page matrix of these mappings, updated after every analysis, and it shortens the next investigation by half.
The abuse-versus-defect line gets written explicitly. Abuse leaves its signature on the outside first: heat-browned wrap, scorched or weld-marked tabs, external short marks, mechanical deformation that predates internal damage. A manufacturing defect leaves its signature at the initiation point with clean exterior evidence. When both signatures appear, I state which came first and on what basis, because in a warranty dispute the sequence is the argument.
Every finding closes with a corrective action and a verification test. The loop is not closed when the report is written; it is closed when three consecutive production lots pass the same CT screen and capacity checks that the failed cell failed. That discipline is what turns post-mortem work into field-failure prevention instead of failure documentation.
Documentation, Disposition, and When Not to Open
The report is part of the product. Chain of custody from receipt to disposal, a photo log keyed to evidence IDs, instrument settings for every scan and spectrum, and the raw data behind every number. I write reports to survive an outside reviewer who will never meet me, borrowing the traceability habits of ISO/IEC 17025 laboratories even though no dedicated post-mortem standard exists yet. UN 38.3 frames how cells move and what state they must travel in; IEC 62133-2 and IEC 62619 frame the abuse-test background that tells me what a semi-solid cell should have tolerated. The analysis itself rests on documented internal SOPs, and I say so plainly in every report.
Some cells should never be opened. A cell that vented during a thermal event, a pack with exposed charge on the tabs, or a cell suspected of harboring reactive deposits goes to controlled discharge and scrap, documented but not dissected. And I always pull an unopened witness cell from the same lot: the comparison between a failed cell and its healthy sibling is often what turns a plausible theory into a defensible conclusion.
Frequently Asked Questions
Is it safe to open a failed semi-solid state battery in a normal lab?
No. The cell must be discharged to 5% SoC or below and rested, the gel electrolyte demands a dry or inert atmosphere, and cutting pouch foil near residual charge takes trained hands and ceramic tools. A general-purpose lab without argon glovebox access should send the cell to a facility equipped for it.
What does a complete post-mortem failure analysis cost?
For a single pouch cell with CT imaging, full electrical characterization, and SEM-EDS work, I budget 5,000 to 15,000 USD. Chemical forensics such as ICP-OES and gas chromatography add cost. Sharing CT capacity across a batch of returns is the easiest way to cut the per-cell figure.
Can post-mortem results really distinguish abuse from a defect?
Often, yes. Abuse marks the outside first: scorched tabs, deformation, heat browning. A manufacturing defect marks the interior initiation site while the exterior stays clean. When both signatures exist, the analysis must establish the sequence, and that sequence is usually the deciding evidence.
How long does the full workflow take?
One to three weeks is realistic for a single cell. Non-destructive imaging and data review take days; disassembly, microscopy, and chemistry work take another week; the remainder is reporting. CT queue time at shared facilities is the most common source of delay.
How should a failed cell be shipped to the analysis lab?
By ground transport only, in UN-approved packaging rated for damaged or defective lithium cells, with terminals protected and the cell discharged as far as practical. Air cargo carriers refuse damaged lithium cells, so airfreight a failed cell is not an option regardless of paperwork.
What data should I collect before sending a cell out?
BMS logs, charge and temperature history, the incident description in the user’s words, photographs as received, lot code, and the OCV plus EIS reading on arrival. That package often lets the analyst form a hypothesis before the first scan, which shortens the whole investigation.
Further Reading
References