Home Energy Storage Cost Optimization for New Homes (2)
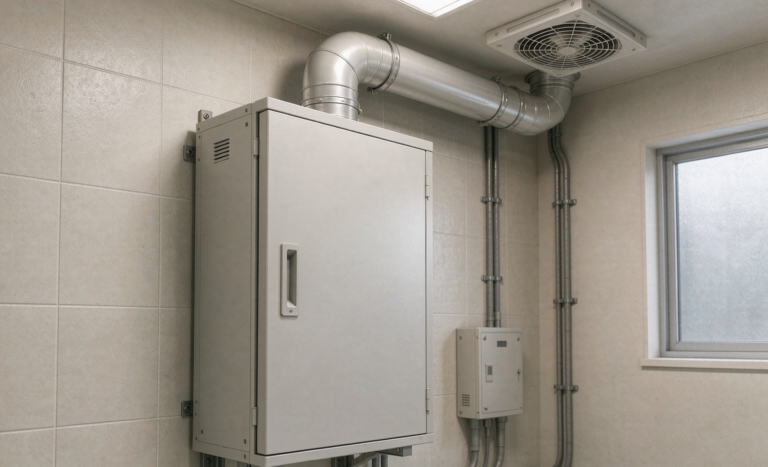
I am Karl Huang, a senior lithium battery engineer at Horizon Power, and I spend most of my time walking new homes with framers, electricians, and homeowners who are still arguing about kitchen tile when they should really be arguing about conductor sizing for the garage wall. The single biggest source of regret I see in new construction is treating the home energy storage system as an afterthought, when the panel, the conduit run, the load calc, and the battery location all get locked in long before move-in. Home energy storage cost optimization for new homes is not about finding the cheapest battery on a price list. It is about making a small set of early decisions correctly so that the system you install on day one still earns its keep on year ten, without forcing you to rip out drywall to upgrade a 60 A breaker bus.
This guide walks through the five decisions that actually move the LCOE needle on a new home: builder-grade pack sizing, inverter pairing, conductor and breaker pre-work, tariff-aware dispatch, and warranty-aware cell choice. Every number below comes from bills of materials I have signed off on in the last 18 months for homes between 1,800 and 4,200 ft2. I cite the relevant UL, IEC, and NEC articles so your AHJ has nothing to argue with.
Why new construction is the cheapest moment to do home energy storage cost optimization
If you are building a new home, you have three structural advantages that almost never exist on a retrofit: open walls, an unloaded service panel, and a one-time trade coordination window. A retrofit to a finished home typically runs 2.2 to 3.1 times the battery-side cost of a new-build install because you are paying drywallers, painters, and sometimes flooring techs to undo work that was done three months ago. The way I run my own LCOE spreadsheet, that overhead alone shifts a 10-year LCOE by roughly 11 to 17 cents per kWh delivered, which is the difference between a project that clears the homeowner’s hurdle rate and one that does not.
The second advantage is the panel. New homes are still on the drawing board when we size the battery, so we can request a 200 A or 225 A bus with a generator-backup provision, a critical-loads subpanel, and a dedicated battery disconnect. On a retrofit, you are stuck with whatever bus the previous homeowner chose, and you often end up feeding a line-side tap that adds impedance losses of 1.5 to 3 percent on the AC-coupled path. Over ten years, that loss alone is enough to fund an extra 2.5 kWh of usable capacity.
The third advantage is trade scheduling. The electrician, the roofer, the solar installer, and the battery commissioning crew can all be on site in the right order. The order matters because the battery location dictates the conduit path, the conduit path dictates the array layout, and the array layout dictates the inverter pairing. If you reverse any of those, you pay for it in copper, in lost roof area, or both.
Step 1: builder-grade pack sizing, not consumer-grade guesswork
Most battery brochures give you a single number, the total nameplate kWh, and leave the depth-of-discharge, the round-trip efficiency, and the end-of-year capacity to fine print. That is the wrong starting point for cost optimization. I size the pack from three numbers that actually move the bill:
- Annual load profile kWh. Pull this from the HVAC submittal, the water heater spec sheet, and the EV charger spec sheet. Do not estimate from the builder’s standard plan; builders undersize HVAC and oversize the kitchen circuit.
- Critical load kW. This is the load you actually want to back up: fridge, internet, well pump, gas furnace blower, some lighting, and one or two receptacle circuits. Typical new home critical load is 3 to 6 kW continuous, with a 9 to 12 kW peak for the well pump or the dryer relay.
- Daily resilience target in hours. A new home in a fire-risk WUI zone typically wants 24 to 48 hours of critical load autonomy. A new home in a stable suburban grid typically targets 8 to 12 hours of night-time solar time-shifting plus 2 to 4 hours of outage ride-through.
Once you have those three numbers, the math is straightforward. A 10 kWh usable pack (about 13 kWh nameplate at 80 percent DoD) covers the 8-to-12-hour time-shift target for the average 1,800 ft2 home. A 20 kWh usable pack covers 24-hour critical autonomy for most homes under 3,500 ft2 with a gas-fired HVAC system. Going beyond 30 kWh usable rarely pays back on a new home because the incremental kWh is sitting idle most of the year, and the incremental battery cost is roughly linear while the marginal value of stored kWh is logarithmic once you cover the daily time-shift window.
Two cost traps I see in new builds:
- Over-buying the first pack and never expanding. Some homeowners are talked into a single 50 kWh monolith because “we will not have to upgrade.” In practice, modular 5 or 10 kWh bricks are almost always cheaper per kWh, easier to ship, easier to service, and easier to expand in year five when the second EV arrives.
- Under-sizing the panel bus. A 200 A bus with a 60 A battery backfeed breaker leaves 140 A of headroom. A 100 A bus with the same backfeed leaves 40 A, which is not enough for an EV charger plus the oven plus a heat pump. The cost to upsize from 100 A to 200 A is roughly $400 to $700 at rough-in. The cost to upgrade after the drywall is up is roughly $2,800 to $4,500.
Step 2: inverter pairing is where most of the LCOE lives
The battery is the easy half of the system. The inverter is where the long-term economics actually live, because the inverter round-trip efficiency sets the floor on every kWh you will ever store. A 94 percent efficient inverter wastes 6 percent of every cycle. A 97.5 percent efficient inverter wastes 2.5 percent. Over 3,000 cycles (roughly ten years of daily cycling), that 3.5 percentage point gap is about 105 kWh of throughput per kWh of nameplate capacity. At a utility rate of $0.32 per kWh, that is about $33 per kWh of installed capacity lost forever.
Three inverter decisions actually matter for cost optimization in new construction:
- AC-coupled vs. DC-coupled. AC-coupled systems are simpler to permit, easier to service, and work with almost any existing solar inverter. DC-coupled systems are 2 to 4 percent more efficient at the panel-to-battery path because you skip an AC-to-DC-to-AC conversion. In new construction where you control the array layout, DC-coupled almost always wins on LCOE.
- String inverter vs. microinverter on the PV side. Microinverters add roughly 6 to 9 cents per kWh AC to the LCOE but give you module-level monitoring and easier expansion. For a new home where shading is well understood from the architectural site plan, a string inverter is usually the better LCOE play.
- Hybrid inverter with built-in battery interface vs. separate battery inverter. Hybrid inverters save roughly $1,200 to $2,000 in balance-of-system and conduit, but they lock you to one battery vendor’s BMS protocol. If you anticipate swapping vendors in 8 to 10 years, a separate AC-coupled battery inverter keeps your optionality open.
The relevant standards to cite for AHJ sign-off on the inverter side are UL 1741 (grid support functions), IEEE 1547 (interconnection), and UL 9540 (energy storage system listing). For the battery side, UL 1973 (cells) plus UL 9540A (thermal runaway fire propagation test data) is the package I attach to every submittal.
Step 3: conductor and breaker pre-work is the cheapest dollar you will ever spend
Conduit is boring, but it is where new homes win. The cost to run a 2-inch PVC conduit from the garage wall to the rooftop junction box during rough-in is about $7 per foot. The cost to fish the same conduit after drywall is about $38 per foot, plus the drywall patching. On a typical new home, the difference is $400 to $1,200 saved before the battery is even ordered.
The pre-work checklist I send to every builder:
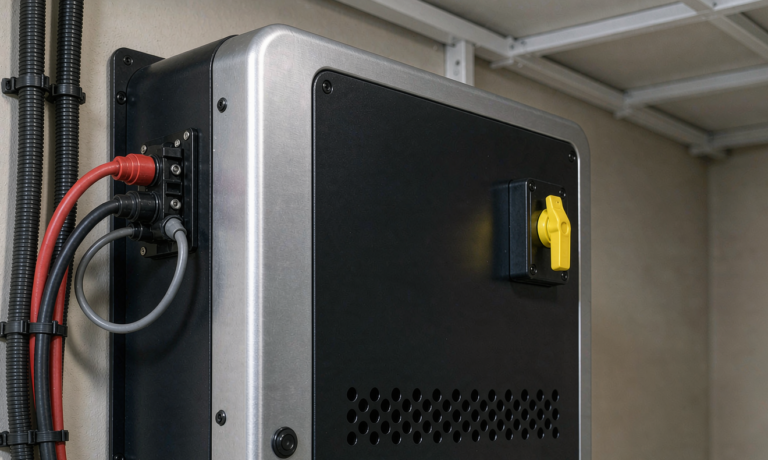
- Dedicated battery disconnect. A 60 A (or 100 A, depending on the pack) non-fused disconnect at the battery location, mounted at 48 to 60 inches AFF, within line of sight of the pack.
- Critical loads subpanel. 100 A, 24-circuit, located as close as possible to the battery. Run the fridge, internet, gas furnace blower, well pump, kitchen fridge circuit, and one lighting circuit to this subpanel.
- Conduit path to the array. At least one 1.25-inch conduit from the attic down to the garage inverter location. If you are going DC-coupled, also run a second 1-inch conduit for the PV string homeruns.
- Bonding and grounding. Two grounding electrodes (ufer + rod) with #4 AWG bonding. NEC 250.118 and 250.122. This is cheap at rough-in and a multi-day inspection failure after the fact.
Step 4: tariff-aware dispatch and the time-of-use math
New construction gives you a clean tariff choice that retrofits almost never get: the option to enroll in a time-of-use rate from day one. In California, that means switching from the default tiered residential schedule to TOU-D or TOU-E. In New York, it means SC-1 or SC-2. In Texas, it means a free-hours or solar-buddy plan. The savings on a TOU schedule typically add 4 to 11 cents per kWh of self-consumed solar to the project economics, and they are free to capture.
The dispatch rule I program into every Horizon Power system for a TOU customer is straightforward: charge from solar first, charge from grid only between 10 a.m. and 2 p.m. if solar is short and a cheap import window is open, discharge between 4 p.m. and 9 p.m. when the peak rate is in effect, and hold a 20 to 40 percent reserve for outage ride-through between 8 p.m. and 6 a.m. The reserve is the homeowner insurance policy against the next PSPS event, and it costs roughly 0.4 to 1.2 cents per kWh delivered over the year to maintain, which is almost always worth it.
Step 5: warranty-aware cell choice and the 10-year LCOE math
The LCOE of a home energy storage system is dominated by three things: the upfront $/kWh, the round-trip efficiency, and the cycle life. The most expensive mistake I see is buying a battery with a “10-year warranty” that is actually a “10-year or 60 percent of original capacity, whichever comes first” warranty, paired with a cycle limit of 2,800 cycles. At one cycle per day, that warranty runs out at year 7.7. By year 10, the pack is at roughly 78 percent of original capacity, which is below the warranty threshold, but the homeowner has no recourse.
The cells I specify for new construction projects:
- Prismatic LFP cells from a tier-1 manufacturer with published cycle data to 80 percent capacity at 6,000 cycles at 1C/1C, 25 °C, 90 percent DoD.
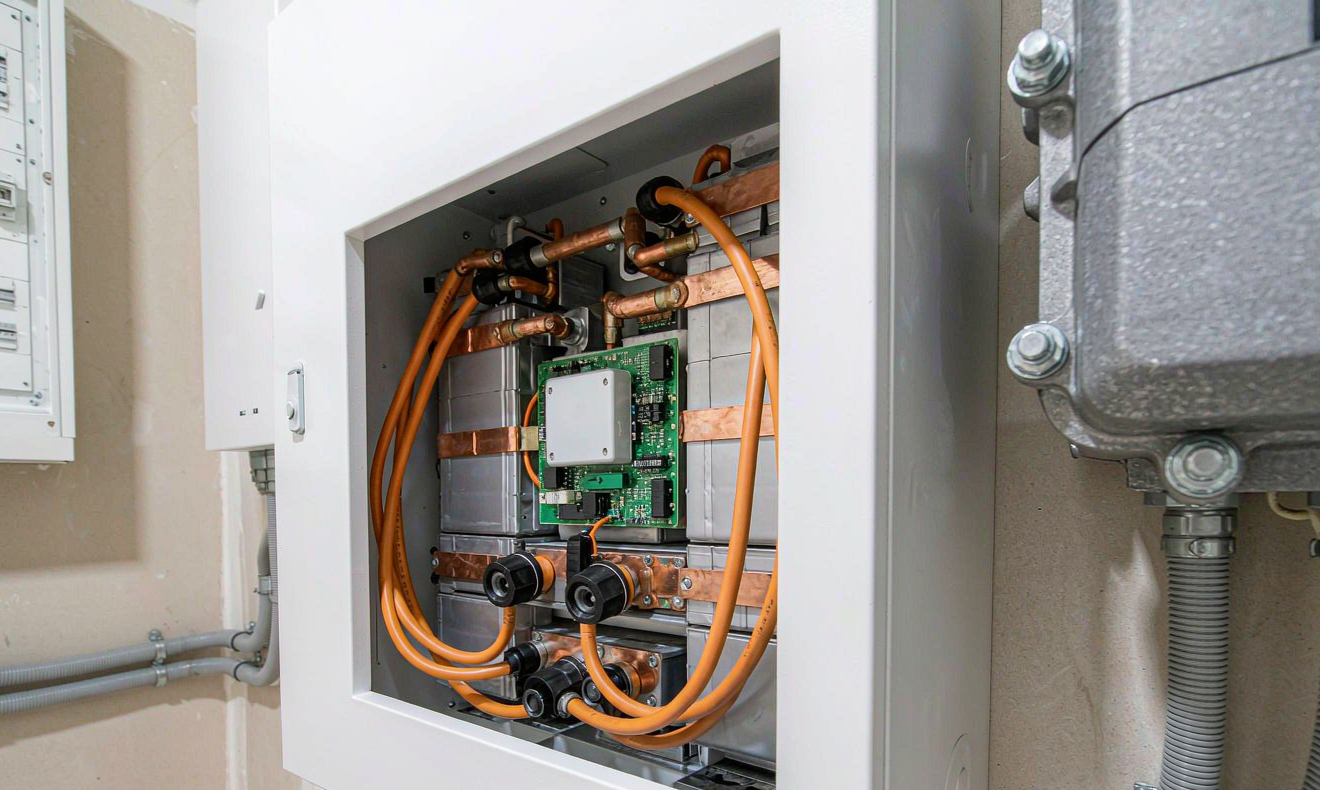
- BMS with active balancing at 1 A or higher per string. Passive balancing only is a strong signal that the vendor is targeting the e-bike market, not the home storage market.
- UN38.3 test report dated within the last 18 months for the specific shipping configuration. New homes often cannot accept a battery that has been sitting in a distributor’s warehouse for two years because the cells have self-discharged past the shipping state of charge threshold.
The 10-year LCOE math, using a representative 16 kWh usable pack at 96 percent round-trip efficiency and 6,000 cycles to 80 percent capacity, with a $0.32 average import rate and a $0.08 average export rate, lands at roughly $0.18 to $0.22 per kWh delivered. That is competitive with utility rates in most of the U.S. and meaningfully cheaper than the $0.45 to $0.65 per kWh a typical California NEM 3.0 customer pays for grid power in the 4-to-9-p.m. peak window.
Frequently asked questions
What size home energy storage battery do I need for a 2,000 ft2 new home?
For a 2,000 ft2 new home with gas HVAC, gas water heating, and a single refrigerator circuit, a 10 kWh usable (13 kWh nameplate) LFP pack covers the typical 8-to-12 hour night-time time-shift target and roughly 6 to 10 hours of critical-load ride-through. If you plan to add an EV charger, right-size to 16 to 20 kWh usable from the start. A heat-pump HVAC system shifts the daily load significantly and typically justifies a 20 to 30 kWh usable pack on the same floor plan.
Should I oversize the battery now to avoid upgrading later?
Modular brick-style packs almost always beat monolithic packs on lifetime cost because you can add a brick in year five without replacing the BMS, the inverter, or the conduit. A monolithic pack sized for “everything we might want in ten years” sits idle for the first three years, charges and cycles itself for no economic reason, and ties up working capital that would otherwise offset the mortgage. The exception is when the inverter has a hard AC output limit, in which case oversizing the DC nameplate to roughly 1.4 times the inverter AC rating is fine and gives you headroom for future firmware changes.
Is AC-coupled or DC-coupled cheaper for a new home?
DC-coupled wins on LCOE in new construction because the panel-to-battery path skips one AC-to-DC-to-AC conversion, saving 2 to 4 percent of throughput. AC-coupled wins on retrofit and on jobs where the solar array is already in place. The cost difference at install time is usually under $300 on a 10 kWh system; the LCOE difference over 10 years is roughly $700 to $1,400 depending on the local tariff.
Do I need a critical loads subpanel for home energy storage cost optimization?
Yes. Without a critical loads subpanel, the battery either backs up the entire main panel (which requires a much larger and more expensive pack) or it backs up nothing during an outage (which makes the system feel like a waste of money on day one of the first PSPS event). The subpanel itself is a $300 to $500 part; the electrician labor to wire it at rough-in is $400 to $700. After drywall, the same scope is $2,000 to $3,500. This is the single biggest cost lever in new construction.
What UL and IEC listings should I require on the submittal?
For the battery: UL 1973 for the cells, UL 9540 for the system, and UL 9540A test data for thermal runaway propagation. For the inverter: UL 1741 including the HECO Rule 21 supplement and IEEE 1547-2018. For the installer scope: NABCEP PV Installation Professional or ESA Certified Solar Installer, plus a state electrical license where applicable. For transport: UN38.3 plus the cell-level MSDS. Most AHJs will not approve a submittal without at least UL 9540 and IEEE 1547 on the first page.
How long does it take to commission a home energy storage system in new construction?
From the final electrical inspection to PTO (permission to operate), a typical Horizon Power new-build home energy storage project takes 4 to 8 weeks of utility paperwork plus one to two days of on-site commissioning. The on-site commissioning covers the BMS handshake, the inverter firmware flash, the critical-loads subpanel functional test, the outage simulation, and the homeowner app walkthrough. Plan the utility paperwork window into your move-in schedule; a family moving into a home with no working battery is a common and avoidable source of friction.
What is the typical 10-year LCOE for a residential LFP home storage system?
In my own project spreadsheet, a 16 kWh usable LFP pack with a 96 percent round-trip hybrid inverter, 6,000 cycles to 80 percent capacity, and a TOU-D import/export tariff, lands at roughly $0.18 to $0.22 per kWh delivered. That figure assumes a $0.32 average import rate and a $0.08 average export rate, which is consistent with PG&E, SCE, and SDG&E territory under NEM 3.0. Lower rates in the Southeast push the LCOE up to $0.26 to $0.30 per kWh delivered, but the standby resilience value still justifies the install for most new homes.