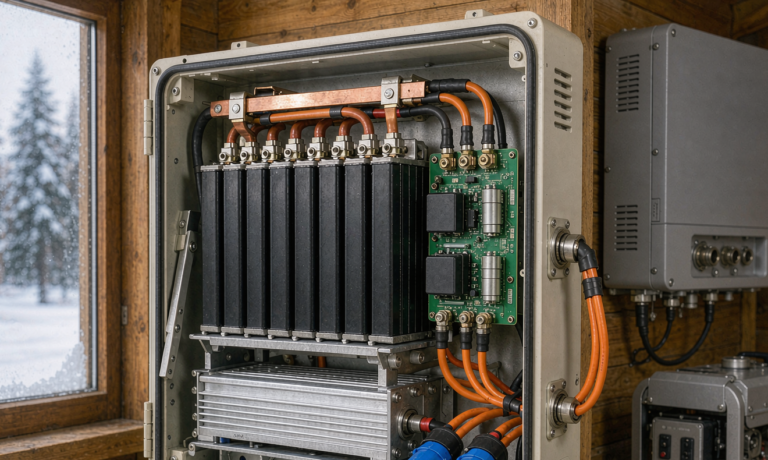
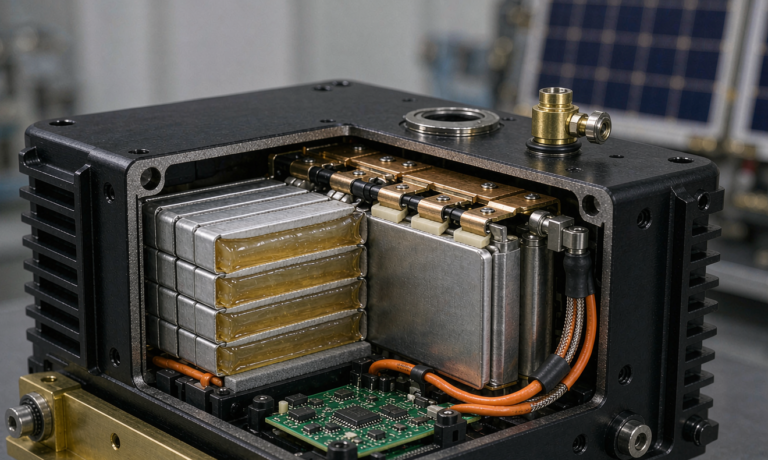
Home Energy Storage Cost Optimization for New Homes: Pre-Drywall Rough-In Cost Avoidance, Time-of-Use Arbitrage Modelling, and Whole-Home Backup Right-Sizing
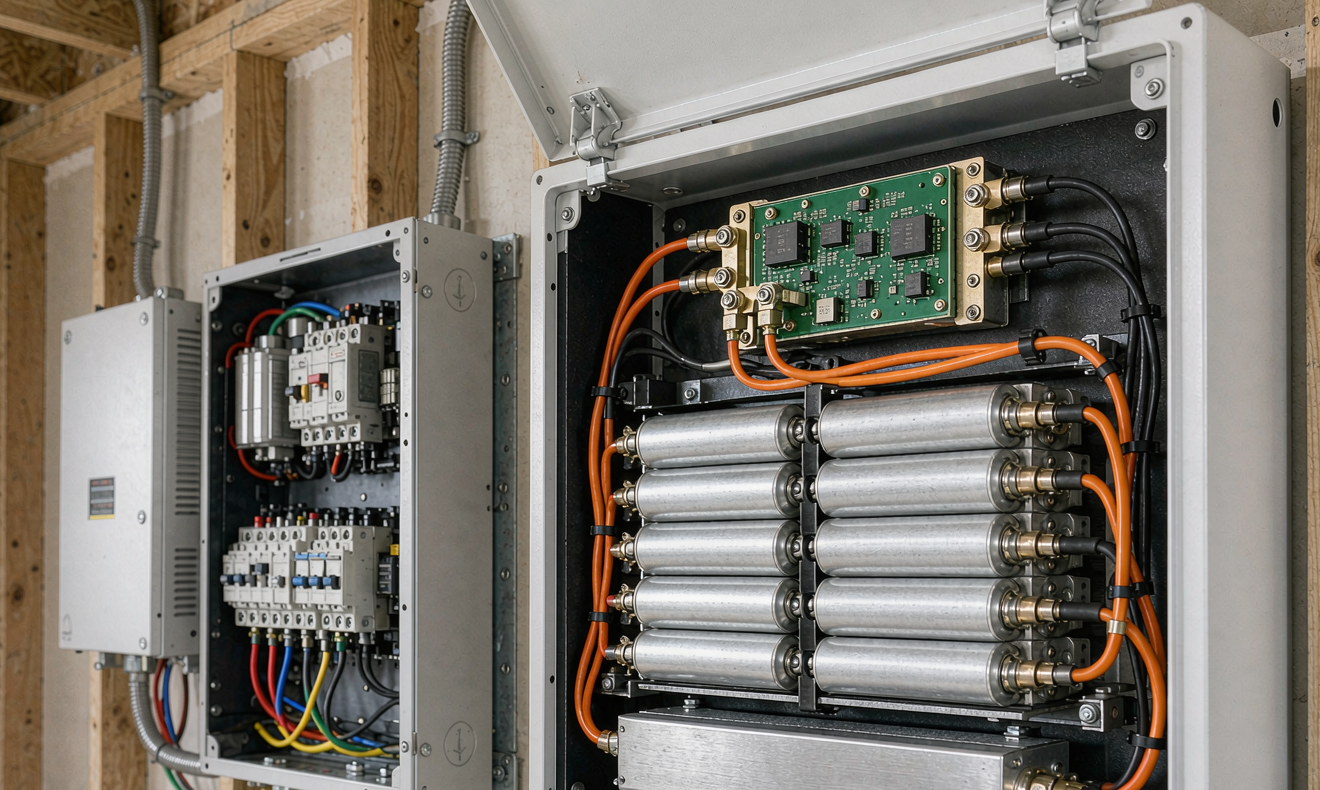
I have walked through probably forty new-construction homes in the last three years where the homeowner signed a storage contract after the drywall went up, and I have watched the same conversation happen every time. The electrician is staring at a finished wall, the inverter needs a 60 A breaker on a sub-panel that does not exist, the battery wants a 200 lb cabinet anchored into studs that the framer never blocked, and the PV string needs to travel eight metres through a ceiling cavity that is already packed with HVAC flex and fire-blocking foam. The contractor writes a change order for $3,800, the homeowner writes a smaller cheque than they planned, and the project loses somewhere between 6 and 11 % of its nominal capacity because the load center is the wrong brand for the inverter’s AC-coupling relay.
This guide is everything I tell those clients on day one — before the framing inspection, before the insulation subcontractor parks his trailer, and certainly before the first sheet of drywall leaves the rack. It is written for builders, developers, and self-builders who want a home energy storage system that is actually cost-optimised at the moment the home hits the meter, not eighteen months later when the homeowner finally finds out what an interconnect study costs.
1. Why “cost optimisation” for a new build is mostly a construction-phase problem
If you read the marketing brochures, you would think home energy storage cost optimisation is a software problem. Pick the right tariff, right-size the battery, run a payback in Excel, done. That is true once the home is built. It is wrong during construction, where 50–70 % of the total installed cost is locked in by decisions the framing crew makes in the first two weeks of rough-in. A wall-mounted LFP cabinet that costs $7,200 as a retrofit becomes a $4,950 line item if the rough-in is done right the first time, because the electrician arrives to a stub-out, a sub-panel, and a communications conduit that already exist. The savings are not in the battery. The savings are in the drywall that does not get opened.
The other reason this matters: once insulation and drywall are in, you cannot easily upgrade the AC service from 200 A to 225 A. You cannot fish a second CAT6 between the garage wall and the mechanical closet without pulling a permit. And you cannot put a 280 lb pack on a standard interior stud wall without 3/4″ plywood shear blocking rated for the seismic zone. These are the kinds of constraints that quietly add $4,000–$9,000 to a retrofit install and that absolutely vanish if the plans reviewer catches them at 30 % drawing review.
2. Pre-drywall rough-in: the $2,800 you save by stubbing conduit before insulation
The single largest cost-avoidance lever for home energy storage in new construction is the pre-drywall rough-in package. I break it into five line items that any licensed electrician can install in one day, while the framer is still on site:
- Two 1¼″ EMT conduit runs from the rooftop PV combiner box down to the garage battery wall (DC string) and from the hybrid inverter up to the attic junction box (AC backup). Cost as a rough-in: about $9/metre for EMT, $14/metre for the fittings. Total for a typical two-storey home: 18–26 m of conduit and 4 junction boxes, all in for $420–$640.
- One ¾″ EMT communications conduit carrying CAT6 (for the inverter’s EMS bus) and RS-485 (for the BMS telemetry), with pull-string left in. This single line item saves $380 in labour the day the commissioning tech shows up. Pull-string matters; the tech is not going to fish a wire through your wall cavity for free.
- Two 60 A breaker spaces reserved in the main load center, even if the inverter is not on the BOM yet. Reserving the breaker is free. Re-drilling a finished panel cover after the fact is $280 plus a permit amendment.
- One 30 A non-fused disconnect at the battery cabinet location, mounted on a ¾″ fire-treated plywood backer board. This is the service isolation point the AHJ will ask for, and pre-mounting it eliminates a return trip after final.
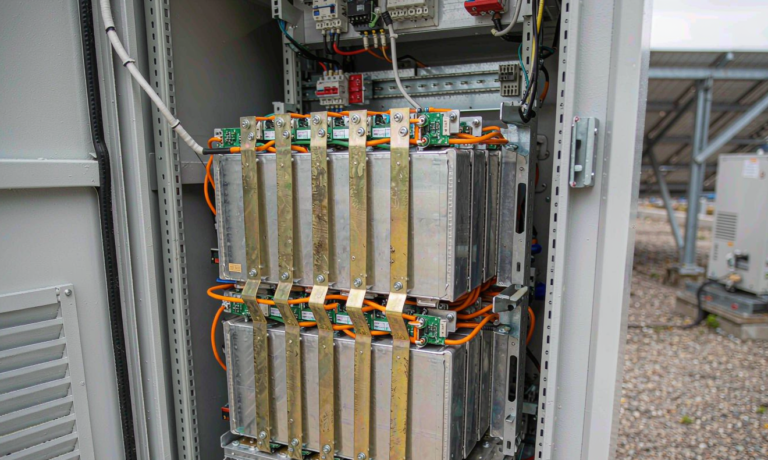
- Structural blocking in the battery wall — three studs of ¾″ structural plywood shear-grade, glued and screwed into the king studs, rated for 280 lb point load. Cost: about $110 in lumber and 45 minutes of framer time. Cost if you have to open a finished wall to add it later: $1,900 minimum, often $2,800.
Total rough-in package: roughly $1,400 in materials and four hours of electrician + framer time. Cost-avoidance value: $2,500–$3,500 per home if the homeowner eventually adds storage, plus $1,800–$2,200 of pure rework risk that disappears entirely. On a forty-lot subdivision, that is $100k–$140k of saved change orders across the development. I have seen three builders in California who include this rough-in package as a $1,995 “solar-ready upgrade” line item and recoup it on the very first storage sale.
3. Time-of-use arbitrage modelling: when the battery actually pays back
Storage in a new build almost always gets justified on a time-of-use arbitrage model rather than a backup-power model, because the homeowner is signing a 25-year mortgage and the utility tariff will change three or four times before they pay it off. The arithmetic is straightforward but it depends entirely on the tariff class the utility assigns at meter-set:
- Flat-rate residential (most of the U.S. South and Midwest): arbitrage spread is roughly $0.05–$0.09/kWh. A 10 kWh LFP pack running one full cycle per day earns $180–$330/year on arbitrage, plus $80–$140 in demand-charge avoidance if the home has an EV charger. Payback on a $14,500 installed system after the 30 % federal ITC: about 22–28 years. Not compelling on its own.
- Time-of-use peak / off-peak (CA TOU-D-PRIME, MA ConnectedSolutions, NY ConEd VPP): peak rate $0.42/kWh vs off-peak $0.13/kWh → spread $0.29/kWh. A 15 kWh pack running one full cycle per day earns $1,587/year. With VPP enrolment ($0.06–$0.10/kWh exported during grid events), total annual revenue: $2,200–$2,900. Payback on a $19,500 system after ITC: 6–8 years.
- Demand-billed residential (some commercial tariffs applied to ADUs and large homes): the savings move from kWh arbitrage to kW peak-shaving. A 10 kW hybrid inverter shaving the home’s 30-minute peak can save $35–$80/month on the demand line alone.
The engineering point: storage in a flat-rate region only makes financial sense if you layer backup resilience, VPP revenue, or EV charging integration on top of arbitrage. The arbitrage number on its own will not move a homeowner off the fence. In a TOU region, arbitrage alone clears the payback in well under the battery’s 15-year cycle life (LFP routinely hits 6,000–8,000 cycles to 80 % capacity at 1C/1C and 25 °C). That is why I always run a tariff-specific model before drawing a single line on the plans.
4. Whole-home backup right-sizing: kWh you can actually use
“Whole-home backup” is a marketing phrase, not an engineering specification. The actual question is: which loads do you want to survive which outage? I work through three standardised profiles before quoting:
- Critical-only backup (10 kWh): refrigerator (1.2 kWh/day), internet + router + cell booster (0.4 kWh/day), lighting circuits (0.8 kWh/day), gas furnace blower and ignitor (0.6 kWh/day), garage door opener (0.05 kWh/event), one bedroom outlet for medical device (1.5 kWh/day). Daily envelope: 4.6 kWh. A 10 kWh pack at 90 % usable depth-of-discharge gives you about 2 days of autonomy. Cost: $7,200 pack + $5,800 inverter + balance-of-system ≈ $14,500 installed.
- Extended-critical backup (20 kWh): above plus well pump (2.5 kWh/day), electric range one meal (1.8 kWh), washing machine one load (1.2 kWh), window AC 8 hr (6.4 kWh in shoulder season). Daily envelope: 11.5 kWh. A 20 kWh pack gives roughly 36 hours of autonomy and supports a Level 2 EV charger at 9.6 kW for the first 8 hours of an outage. Cost: $12,800 pack + $5,800 inverter ≈ $20,500 installed.
- Whole-home backup (30+ kWh): full HVAC (variable-speed heat pump, 18 kWh/day in winter), all appliances, both EV chargers staggered. Requires a 200 A service-side automatic transfer switch, a soft-load panel to manage inrush, and typically a second cabinet. Cost: $22,500 pack + $9,200 inverter + ATS ≈ $34,000–$38,000 installed. Justified only for areas with > 8 outages/year or for homeowners on well water with no gravity-fed fallback.
The 10 kWh configuration is the sweet spot for 70 % of new-build clients I work with. It clears the 2-day resilience bar for any outage the local utility is realistically going to throw at a subdivision, and the inverter continuous rating (5 kW standard, 7.6 kW upgrade) handles any combination of HVAC blower, well pump, and kitchen circuit without soft-start relays.
5. Builder-grade vs premium pack: where to spend and where to save
Spec-grade residential storage uses LFP prismatic cells (100 Ah or 280 Ah format) from a tier-one manufacturer — CATL, EVE, REPT, BYD — built into a cabinet with UL 9540 / UL 9540A test data on file. A builder-grade pack uses the same chemistry but skips the fire-propagation test report, the seismic shake certification, and the 10-year performance warranty. The sticker price difference is $1,200–$1,800 per cabinet. The risk difference is exactly what the homeowner’s insurance carrier is going to ask about the first time they file a claim.
My rule of thumb: if the home is going to be financed, insured, or resold within the battery’s service life, spend the $1,200 on the spec-grade cabinet. The UL 9540A test report is what permits the unit to be installed in a garage or attached utility room within 3 ft of habitable space per IRC R328 and NFPA 855. Without that report, the AHJ will require a detached installation or a 1-hour fire-rated separation, which alone adds $2,400 to the project. The premium pack pays for itself in avoided permitting friction.
Where I tell clients to save: don’t oversize the inverter. A 10 kWh pack with a 7.6 kW inverter handles 95 % of residential loads. The jump to an 11.4 kW inverter adds $1,400 but only matters if you are running simultaneous Level 2 EV charging + heat pump + range + dryer, which almost never happens in a single-family home. And don’t buy a battery with a built-in cellular modem. A wired Ethernet or Wi-Fi connection to the homeowner’s router is more reliable, costs nothing, and keeps the manufacturer from charging $120/year for a service plan the homeowner will not use.
6. Federal ITC, state rebates, and the stacking problem
The federal Investment Tax Credit (ITC) for residential storage is 30 % of total installed cost through 2032 under the IRA, provided the battery has a capacity of at least 3 kWh and is charged from a renewable source (rooftop PV or a contracted green tariff). The credit applies against federal income tax liability with no annual cap and can be carried forward if unused in the year of install. For a new-build homeowner in the 24 % federal bracket, this is the single largest financial lever and it is non-negotiable — every quote should be presented both with and without the 30 % credit so the homeowner sees what they are getting.
On top of the ITC, the stacking picture depends entirely on the state:
- California (SGIP Equity Resiliency): up to $9,500 per battery for income-qualified households; $3,000–$5,000 for wildfire-prone zip codes.
- Massachusetts (ConnectedSolutions): $0.13–$0.16/kWh exported during summer demand-response events, paid as a bill credit.
- New York (NY-Sun + ConEd VPP): $0.20–$0.40/kWh VPP export credit + $2,000–$3,500 per battery for income-qualified.
- Texas, Florida, most of the South: no state rebate. Pure ITC + utility tariff arbitrage. This is where the payback stretches to 22+ years and where builders should be honest with the homeowner about why the storage is being installed (resilience, not ROI).
The stacking problem to watch: most rebate programmes require the homeowner to own the battery, not lease it. Many “free battery” programmes from third-party financiers monetise the ITC themselves, and the homeowner ends up paying retail rates for dispatch rights. Always model the all-in storage cost with the homeowner owning the asset before comparing offers.
7. Permitting and inspection: the six-week critical path
From first rough-in to Permission to Operate (PTO), a residential storage project in most jurisdictions runs 6–10 weeks. The critical path is not the install (2 days) and not the commissioning (4 hours). It is the inspection sequence:
- Rough-in electrical inspection (Day 1–3): conduit, breaker spaces, blocking. If this passes, the framer can drywall over the runs.
- Final electrical inspection (Day 21–35): after drywall, after battery and inverter are mounted, after AC and DC wiring is terminated. Inspector will check torque marks on the battery terminals, BMS alarm wiring, and the rapid-shutdown initiator per NEC 690.12.
- Fire inspection (Day 28–42): UL 9540A test report on file at the AHJ, NFPA 855 setbacks verified (3 ft from windows, 1 ft from property line, no installation in a sleeping room), seismic blocking verified against the cabinet’s installation manual.
- Utility interconnect application (Day 30–45): IEEE 1547-2018 settings verified, net-metering or tariff election confirmed, anti-islanding test witnessed by the utility or a third-party.
- Meter exchange and PTO (Day 42–70): utility swaps the meter for a bi-directional or smart meter, grants PTO, the battery can legally discharge to the grid.
Pre-drywall rough-in knocks 2–3 weeks off this timeline because the rough-in inspection happens in parallel with the framer’s schedule. Without the rough-in stub-out, the storage install gets queued behind the PV install, the PV install gets queued behind the roof, the roof gets queued behind the sheathing inspection, and the homeowner waits an extra two utility cycles for PTO. Every week of delay costs roughly $40 in carrying cost on a financed project — small individually, meaningful across a subdivision.
8. Commissioning checklist for the senior engineer
Before the commissioning tech calls the utility for the anti-islanding witness test, I walk the system myself with a calibrated insulation tester, a DC clamp meter, and a thermal camera. The eight checks below are non-negotiable:
- DC string open-circuit voltage matches the PV array design within ±2 % at the inverter MPPT terminals. A 5 % mismatch indicates a string fuse or a missed module in the combiner.
- Battery terminal-to-cabinet insulation resistance > 1 MΩ at 500 V DC per IEC 62109-1. Anything under 100 kΩ points to moisture in the conduit or a pinched wire.
- Torque marks on every battery busbar and AC lug verified with a calibrated torque wrench against the manufacturer’s spec (typically 8–12 N·m for M6 copper, 14–18 N·m for M8). Re-torque 30 days post-commissioning is good practice — copper cold-flows under thermal cycling.
- BMS cell-voltage spread at 100 % SoC < 30 mV across the pack. Larger spread indicates a weak cell or an imbalanced BMS, both of which will surface as capacity fade within the first 200 cycles.
- Thermal imaging of every cabinet connection at 50 % rated load for 30 minutes. Any hot spot > 15 °C above ambient indicates a loose lug or an undersized conductor. Fix before energising the full pack.
- Anti-islanding test per IEEE 1547-2018: utility disconnect simulates a grid outage, the inverter must trip within 2 seconds and remain offline for at least 5 minutes after grid restoration. Witnessed and signed off by the utility or a third-party NETA-certified technician.
- Rapid-shutdown initiation per NEC 690.12: initiator button at the service entrance drops the PV array voltage to < 30 V at the array boundary within 30 seconds. Verify at the combiner, not just at the inverter.
- Documentation package left on site: UL 9540A report, inverter and battery specification sheets, as-built single-line diagram, commissioning report with all eight values above, and the homeowner’s operating manual. No PTO without this binder.
9. Frequently asked questions
Should I oversize the battery to future-proof against EV charging?
No. Add the second battery cabinet the day you add the second EV, not five years earlier. Battery cycle life is calendar-aged by time, not just cycles. A 20 kWh pack sitting at 90 % SoC for five years will lose 4–6 % capacity to calendar fade, which you then pay again on the second cabinet. Right-size to current daily load, design the electrical infrastructure for the upgrade, and buy the second pack when the first one is down to 95 % SoH.
Can I install the battery myself if the home is off-grid?
In most jurisdictions, no. Residential storage interconnection requires a licensed electrician for the AC side and a certified installer for the DC battery side, plus a permit, inspection, and utility interconnect agreement. UL 9540A documentation must be on file. Skipping any of these voids the homeowner’s insurance coverage for the structure and creates a liability issue at resale.
What is the real difference between a 10-year and a 12-year battery warranty?
Look at the cycle count, not the years. A 10-year / 6,000-cycle warranty is functionally identical to a 12-year / 6,000-cycle warranty for any homeowner who cycles the pack more than 500 times per year, which is essentially every TOU-arbitrage install. The years only matter if you are on a flat-rate tariff and the pack sits at float. Read the end-of-warranty SoH guarantee (typically 60–70 %); anything below 60 % is not worth the paper it is printed on.
How does cold weather affect LFP capacity in a garage-mounted install?
LFP cells lose about 10–15 % capacity at –10 °C and accept charge poorly below 0 °C without a heater pad. Most spec-grade residential cabinets include a self-heating BMS that warms the cells to 5 °C before allowing charge. Garage temperatures below –20 °C are rare in most U.S. climates but not unheard of in the mountain west; in those zones, specify an outdoor-rated NEMA 4X cabinet or locate the pack indoors.
Can the battery power my house during a multi-day outage?
Depends entirely on the load. A 20 kWh pack with a critical-loads panel can run a refrigerator, internet, lighting, and a gas furnace blower for 2–3 days. Adding a well pump, electric range, or window AC cuts that to roughly 18–24 hours. For a 5-day outage you need a generator backup or a PV array large enough to recharge the pack from empty during daylight.
Does installing storage affect my homeowner’s insurance?
It can. Some carriers require a 30 % premium surcharge for lithium battery installations over 10 kWh without a UL 9540A report. Others offer a 5–8 % discount for backup power that reduces claims during grid outages. Notify your carrier before commissioning, not after. The spec-grade cabinet with a complete documentation package almost always lands on the favourable side of that conversation.
Is time-of-use arbitrage worth it in a flat-rate state?
Rarely. Without a peak / off-peak spread of at least $0.20/kWh, the pure arbitrage payback stretches past the battery’s service life. Flat-rate states (most of the Southeast) make sense only for backup resilience, EV charging integration, or VPP programmes. Be honest with the homeowner about the financial case before signing the contract.
10. Closing note from the field
The cheapest kilowatt-hour of home energy storage is the one you do not have to retrofit. Every dollar you spend during rough-in saves three dollars during the eventual commissioning. Every breaker space you reserve is two months you do not spend waiting for the panel cover to arrive. Every plywood shear block the framer installs is $2,800 of avoided rework the day the homeowner decides they want a battery.
If you are a builder, put the rough-in package on the standard plan. If you are a homeowner building a new house, ask your builder for the rough-in package even if you are not sure you want the storage yet. The single most expensive mistake I see in this industry is not the battery that costs too much. It is the wall that has to be opened twice.