Lithium Battery for RV and Camper Van Builds
As Karl Huang, a senior lithium battery engineer who has spec’d and validated packs for dozens of van-life and RV conversion programs, I get asked the same question almost weekly: “Should I put a lithium battery in my camper van, and how big?” The short answer is yes — a well-built lithium battery pack changes the entire character of an off-grid build. But the sizing, voltage architecture, and BMS choices are where most DIY and even professional builds get it wrong. In this guide I’ll walk through exactly how I approach an RV or camper van lithium battery system, with the real numbers and standards I use on the bench.
Why RV and Camper Van Builds Are Leaving Lead-Acid Behind
For twenty years the default was a pair of flooded or AGM deep-cycle batteries bolted under the floor. They worked, but they punished you. A lead-acid bank only delivers about 50% usable depth of discharge before you start shortening its life, it is heavy, and it hates the cold. A modern LFP battery (lithium iron phosphate) gives you 80–100% usable capacity, roughly one-third the weight, and a cycle life of 2,000–4,000 cycles at 80% DOD. For a camper van where every kilogram and every watt-hour matters, that math wins immediately.
The chemistry choice matters just as much. I almost always specify LFP battery cells for RV use rather than NCM (nickel-cobalt-manganese), because LFP is intrinsically more thermally stable, tolerant of partial-state-of-charge cycling, and far safer inside a cabin you actually sleep in. When a client insists on maximum energy density for a tiny teardrop trailer, I will discuss NCM, but for 95% of van builds LFP is the right call. A lithium-ion battery that you can fully discharge without anxiety is a lithium-ion battery you will actually use.
Sizing the Lithium Battery Pack to Your Real Loads
Before I touch a single cell, I build a 24-hour load table. List every consumer: a 12V compressor fridge (about 40–60 Ah/day), LED lighting (5–10 Ah), water pump (3–5 Ah), laptop and phone charging (10–20 Ah), roof fans, and any inverter loads like a microwave or induction cooktop, which can spike to 100+ Ah in short bursts. Sum the daily draw, then multiply by your target number of autonomous days off-grid.
Here is a concrete example I use in client meetings. A couple running a modest build pulls roughly 80–120 Ah per day. For two days of reserve without solar input, that is 240 Ah at 12V — about 2.9 kWh. I would spec a 300 Ah (3.8 kWh) lithium battery pack to leave comfortable headroom. The critical point buyers miss: with LFP you can plan on 95% of nameplate usable, versus 50% for AGM. So a “300 Ah” LFP genuinely behaves like a 570 Ah AGM equivalent. That single fact shrinks the physical footprint and the wiring cost dramatically.
I also factor recharge. If you run 200 W of roof solar, you might recover 60–100 Ah on a good day, which lets you shrink the pack. But solar is weather-dependent, so I never size the lithium battery pack on solar alone — I size for the worst-case cloudy stretch and treat solar as a bonus.
12V vs 24V Architecture — What I Actually Specify
This is the decision that shapes everything downstream. Most North American van builds default to 12V because their appliances are 12V. But once your lithium battery pack exceeds roughly 200 Ah, the currents get ugly. At 12V, a 200 A draw means 2,400 W — and 200 A through cabling demands 4/0 AWG wire and expensive Class-T breakers. Move to a 24V lithium battery system and the same 2,400 W flows at 100 A, halving your conductor size, weight, and heat.
My rule of thumb: under 200 Ah with simple loads, stay 12v lithium battery for parts availability and appliance compatibility. Above 200 Ah, or if you run a large inverter (3,000 W+), go 24V with a 12V converter for legacy loads. Many of my custom battery solution designs use a 24V core with a DC-DC converter delivering clean 12V to the cabin bus — the best of both worlds. The converter also isolates sensitive electronics from inverter noise, which fixes a surprising number of “my LED lights flicker” complaints.
The BMS Is the Real Product
A lithium battery pack is only as safe as its battery management system. In an RV you have constant vibration, temperature swings from -10°C to +45°C, and amateur-adjacent wiring — so the BMS solution must do far more than balance cells. For every van build I require:
- Over-voltage, under-voltage, and over-current protection with hardware-level contactor disconnects
- Temperature-compensated charge cutoff — cold charging below 0°C is the fastest way to permanently damage LFP
- Active or high-quality passive balancing holding cells within 10 mV
- Closed-loop communication (CAN bus at minimum, or UART) to the inverter and a cabin display
- A pre-charge circuit to protect contactors from inrush current the moment the inverter connects
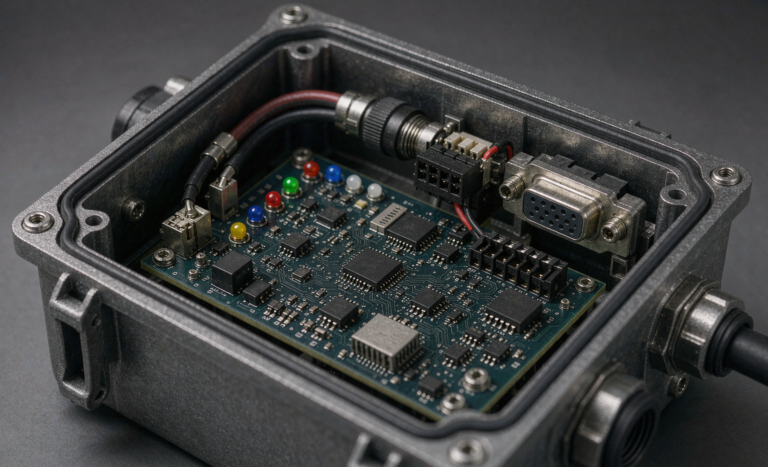
For a production van build I almost always recommend a smart BMS solution with CAN reporting so the owner sees individual cell voltages on a tablet. It turns a black box into a diagnosable system — and when something fails at a remote trailhead, that visibility is what gets you home. A lithium-ion battery without a talking BMS is, in my opinion, not roadworthy.
Certifications and Safe Installation
Off-grid does not mean off-standard. Every lithium battery pack I ship for RV use carries UN38.3 transportation test certification and IEC 62133 cell-level safety validation. For the North American market I expect UL 1642 (cells) and UL 1973 (stationery and storage batteries) alignment, plus an IP54+ enclosure to handle road dust and splash. Marine-adjacent installs should reference ABYC E-13 and ISO 8846 ignition-protection requirements even if you are “just” in a van — it is far better to be safe than to risk a spark near a propane line.
Installation rules I enforce on every build:
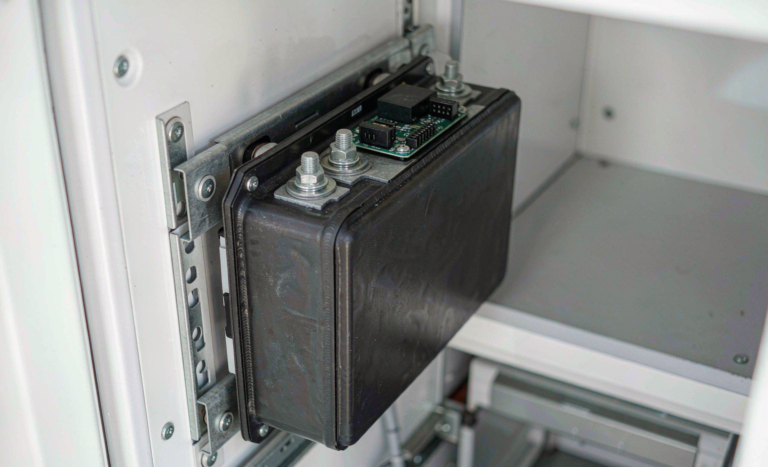
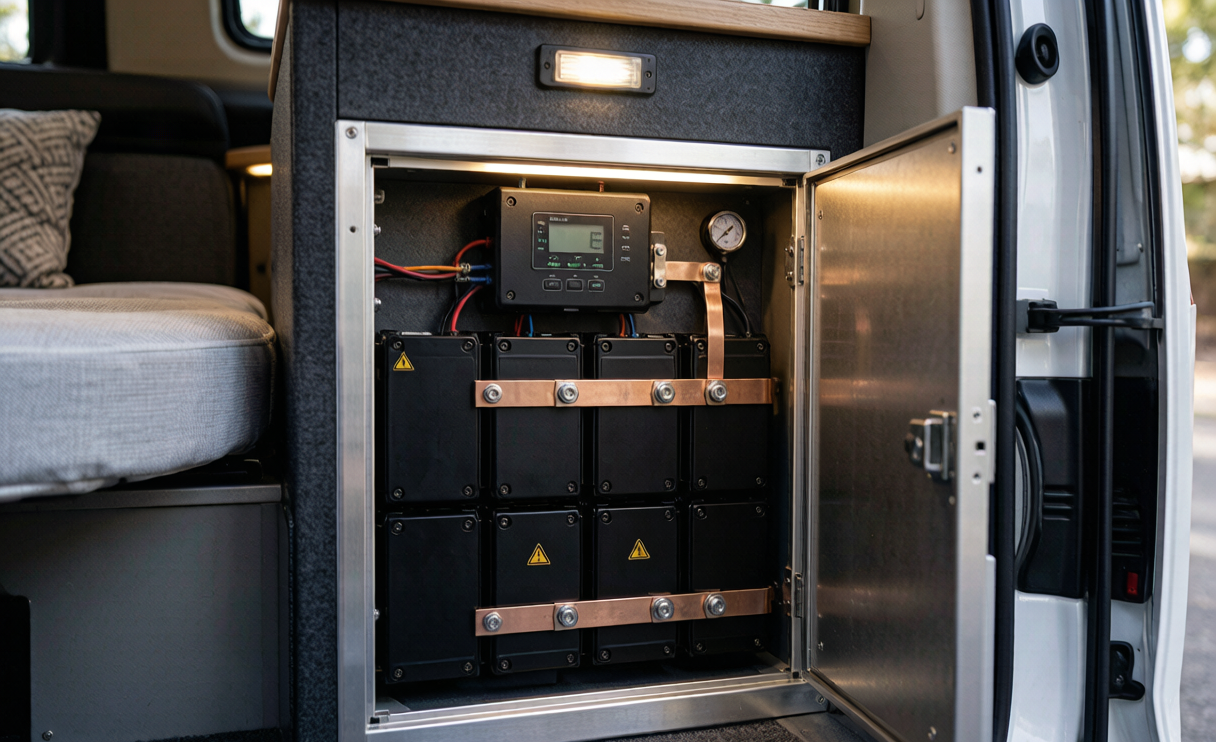
- Batteries live in a vented, dedicated compartment — never sealed inside the living space
- ANL or MRBF Class-T fusing within 7 inches of the positive terminal
- Marine-grade tinned copper cabling, properly crimped — never soldered at high-current joints
- Chassis ground bonded at a single point to avoid destructive ground loops
- Temperature sensor mounted directly on the pack, not floating in open air
These are not suggestions born of caution alone. I have seen a loose sense wire drive a BMS into a fault loop at 2 a.m. in a parking lot; the discipline above is what prevents it.
A Field Checklist Before You Power On
After the physical build, I run a structured commissioning sequence: (1) verify the open-circuit voltage of every parallel group matches within 50 mV; (2) energize the BMS and confirm it sees all cells; (3) apply a small 10 A load and watch voltage sag and temperature rise; (4) only then connect the inverter and full load. I have caught more bad busbar torque and reversed sense wires in this 30-minute step than in any other. A lithium-ion battery system that passes this is a system you can trust for 2,000 cycles.
Common mistakes I see in the field: undersizing the inverter cabling, forgetting the cold-charge cutoff so the BMS trips every winter morning, mixing old and new cells into one pack, and relying on a cheap PCM instead of a real BMS. A protection circuit module (PCM) is acceptable for a single small device; for an entire van it is not enough. If you want a lithium battery pack that lasts, spend the money on the BMS.
How many lithium battery amp-hours do I need for a camper van?
For a typical two-person build with a 12V fridge, LED lighting, and device charging, plan 200–300 Ah (2.5–3.8 kWh) of lithium battery capacity for 1–2 days of autonomy without solar. Heavy inverter users or multi-day off-grid trips should size 400 Ah or more. Remember that usable LFP capacity is ~95% of nameplate, so a 300 Ah pack replaces a 570 Ah AGM bank.
Is a 12V or 24V lithium battery system better for a van?
Under roughly 200 Ah, 12V is simpler and matches most RV appliances. Above 200 Ah, or with a 3,000 W+ inverter, 24V halves your current and lets you use thinner, cooler cabling. A 24V core with a 12V converter is my preferred custom battery solution for larger builds because it reduces weight and inverter noise on the cabin bus.
Can I charge my RV lithium battery from the alternator?
Yes, but never directly. A standard alternator will overheat and a dumb solenoid will overcharge the cells. Use a DC-DC charger (40–60 A) that talks to the BMS and respects temperature limits. This is the single most important upgrade for a reliable lithium battery pack in a moving vehicle, and it is what lets you arrive at camp with a full bank.
Do I need special certifications for a van lithium battery?
At minimum UN38.3 and IEC 62133; for North America align with UL 1642 and UL 1973 and use an IP54+ enclosure. If propane is present, follow ABYC E-13 ignition-protection practice. These are not bureaucracy — they are what keep a pack safe inside a moving, vibrating cabin where you sleep.
Will cold weather damage my camper van lithium battery?
LFP dislikes charging below 0°C, not discharging. A quality BMS solution will block charge in the cold and resume automatically when the pack warms. For winter builds I add a small heating pad controlled by the BMS, or simply run loads (which warm the pack) before charging. Discharging down to -20°C is generally fine with modest derating.
How long will a camper van lithium battery last?
A correctly specified LFP battery delivers 2,000–4,000 cycles at 80% DOD — typically 8–12 years of weekend and seasonal use. That is 3–5× the calendar life of the AGM bank it replaces, which is why the total cost of ownership usually favors lithium despite the higher upfront price. A good lithium battery pack is a once-a-decade purchase, not an annual one.