Home Energy Storage Deployment for New Homes
I have lost count of how many times a builder has called me after the drywall went up. The conversation is always the same: the homeowner wants a home energy storage system, the electrician says the panel is full, the garage wall that would have been perfect is now finished and there is no conduit between it and the main panel, and every option left on the table costs three to six times what it would have cost at framing. New construction is the only moment in a building’s life when a residential battery storage system is genuinely cheap to deploy, because the three things that dominate retrofit cost — routing a cable, reserving wall area, and reserving panel space — are all free while the walls are open.
This piece is written for builders, electricians and the homeowners who are willing to have an awkward conversation with them in week four rather than month nine. It is a deployment guide, not a product guide. I spend my days as a lithium battery engineer at Horizon Power specifying packs that go into homes, and the failure mode I see is almost never chemistry. It is a house that was designed without a battery in mind and then had a battery added to it. The chemistry is fine; the installation is compromised. So the order of operations below follows the construction sequence, and at each stage I have written down what has to be decided, what it costs to decide it now, and what it costs to fix it later.
Why new construction is the only time deployment is cheap
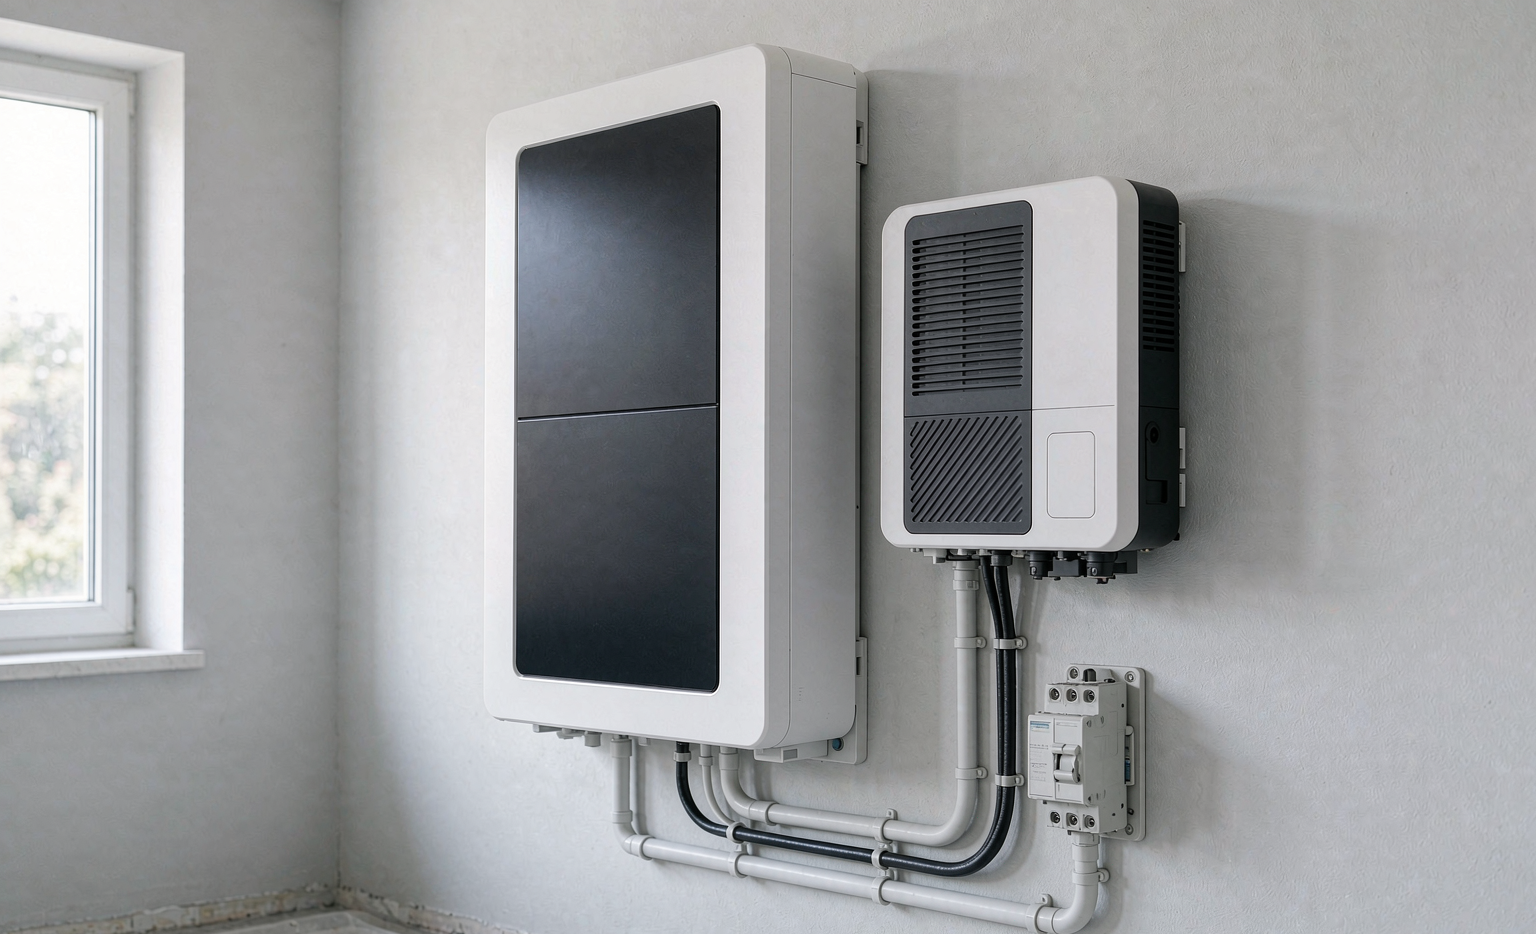
A home energy storage battery is roughly 100 to 250 kg of equipment that needs a structurally sound wall, a dedicated circuit, a communication cable, a disconnect within sight or within a defined distance, and a defined set of circuits that stay energised when the grid goes down. In an existing home, satisfying those five requirements means fishing cable through finished walls, sometimes replacing the main panel, and patching and painting. In a new build, it means the electrician pulls two extra conduits during the rough-in and the framer puts a sheet of 18 mm plywood between two studs.
The numbers from projects I have worked on: a battery-ready rough-in — conduit from the roof to the equipment location, conduit from the equipment location to the main panel, a spare 2-inch conduit stubbed to the garage for a future EV charger, backing board, and reserved space in the panel — typically adds 400 to 1,200 USD in materials and labour at the rough-in stage. The same scope as a retrofit, on a finished two-storey house, lands between 3,500 and 9,000 USD, and that is before any patching and painting. The delta is not a discount, it is the cost of demolition and access you avoid.
There is a second reason, less obvious and more expensive: the load calculation. Article 220 of the NEC (and its equivalents elsewhere) sets the size of the service and the panel from a calculated load. Adding an electric heat pump, an induction range, an EV charger and a home battery backup system to a house that was designed around gas appliances and a 100 A service is a service upgrade. Doing the load calculation with the battery and the electrification package in mind during design costs nothing.
Start with the load sheet, not the battery
The most common mistake in new-home deployment is choosing equipment before knowing what it has to run. Work backwards in this order:
- Annual consumption. For a new 2,000–3,000 sq ft all-electric home with a heat pump, I budget 9,000–14,000 kWh/year before an EV, and add 2,500–4,500 kWh/year per EV driven 12,000 miles annually. A tight, well-insulated 2,000 sq ft home that hits 8,000 kWh/year is achievable but do not design to the optimistic number; design to the measured number once the house has been occupied a year.
- Which circuits must survive an outage. This is a conversation, not a technical question, and it is where most of the value sits. A typical backed-up set is six to ten circuits: refrigerator, freezer, well pump or booster pump, gas boiler controls or heat pump air handler, internet and networking, a lighting circuit, the garage door opener, and any medical equipment. Every additional circuit is capacity and cost, and the marginal ones — the oven, the clothes dryer, the EV charger, the second HVAC zone — are where budgets die.
- Peak power, not just energy. A 10 kWh battery with a 5 kW inverter will not start a 4-ton air conditioner. Locked rotor current on a compressor is 4–6 times running current for a few hundred milliseconds, and inverters have a surge rating, usually 1.5–2 times nominal for 3–10 seconds. If the homeowner wants air conditioning on battery, either size the inverter to the surge or specify a soft-start device on the compressor, which typically pulls starting current down by 60–70% and is a 300–600 USD part.
- The autonomy target, stated honestly. “Whole home for three days” is generally a 60–90 kWh system, which is a different product category and a different budget. “Critical loads overnight plus a hot water cycle” is a 10–20 kWh system. I ask homeowners to name a duration and a list, not a feeling.
Once those four exist, sizing is arithmetic. As a worked example: critical loads measured at 900 W average with a 4 kW morning peak, a 12-hour autonomy target for the average load, 90% usable depth of discharge, and 92% inverter round-trip efficiency gives 900 W × 12 h ÷ 0.90 ÷ 0.92 = 13.0 kWh. Round to a 13.5–15 kWh nominal system and check that the inverter covers the 4 kW peak with margin; if the compressor surge is the peak, either a 7.6 kW inverter or a soft start is the honest answer.
Decide the architecture before framing: AC-coupled or DC-coupled
There are two topologies and the choice has to be made before conduit is pulled, because they route different cables.
DC-coupled (hybrid inverter). The solar array and the battery both connect on the DC side of a single hybrid inverter. One box, one commissioning, one monitoring app, one warranty counterparty. Round-trip efficiency from array to battery to load is typically 90–94%, because the power is only converted once on the way into the battery. For a new build with solar and storage specified together, this is my default.
AC-coupled. The solar has its own grid-tied inverter; the battery has a separate battery inverter, and the two meet at the AC panel. It is more flexible — you can add storage to an existing array, or put the battery in a conditioned space while the solar inverter sits outdoors — and it is more forgiving when the two subsystems are bought from different vendors. The cost is a second conversion: array-to-battery round trip drops to roughly 86–90%, and you now have two firmware update paths and two warranty counterparties.
There is a third option worth knowing about: DC-coupled solar with a separate backup sub-panel fed by a grid-forming battery inverter that can also charge from AC. It is the most flexible and the most expensive, and in my experience it earns its keep only when the homeowner is likely to add a generator or a second battery family later.
What this means for the rough-in: DC-coupled needs a DC conduit from the array to the equipment wall and an AC conduit from the equipment wall to the main panel; AC-coupled needs an AC conduit from the array to the panel and an AC conduit from the panel to the equipment wall. Different cables, different terminating equipment. If the decision is deferred, pull both — conduit is cheap, and the cost of an extra 25 mm run during framing is close to zero.
The rough-in: five things that cannot be added later
1. Reserved wall area with backing
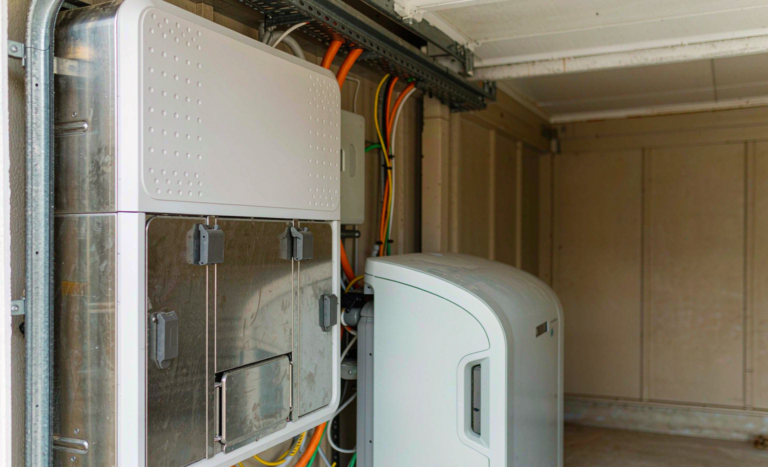
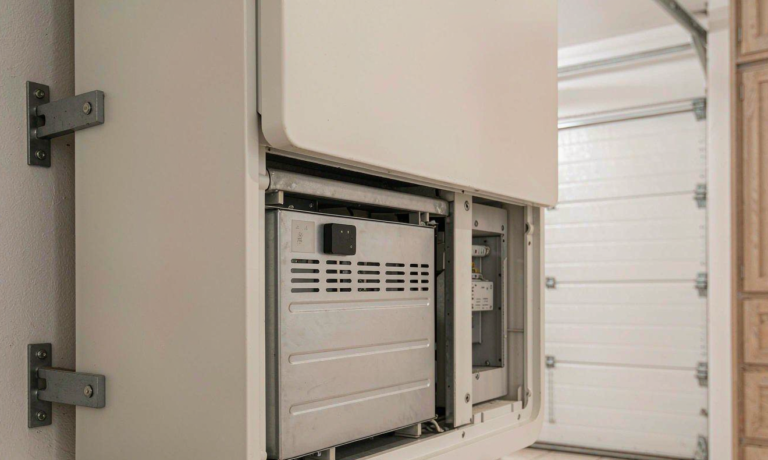
A typical home energy storage system cabinet is 600–900 mm wide, 900–1,800 mm tall and 200–350 mm deep, and weighs 100–250 kg with the inverter. That is not drywall load. It needs 18 mm plywood or OSB backing spanning at least two studs, fastened to the studs, with the battery’s mounting template followed to the millimetre — I have seen a cabinet miss the backing by 40 mm because the template was ignored, and the fix was opening the wall. Where the system is a stack of modules, the wall must carry the full stack, and the top module should still be reachable without a ladder.
2. Conduit, sized for the future, with a pull string
Pull 25 mm or 32 mm conduit from the roof termination point to the equipment location, and 25 mm or 32 mm from the equipment location to the main panel. Pull a spare 50 mm conduit from the panel to the garage for an EV charger even if no EV is planned; a 48 A charger on a 60 A circuit needs 6 AWG copper, and retrofitting that run through a finished garage is the single most common post-occupancy regret I hear. Every conduit gets a pull string and both ends are capped against drywall dust.
3. Reserved panel space and a correctly sized service
Reserve the spaces during panel selection, not after. And read the interconnection rule before choosing the panel: the NEC 705.12 busbar rule in most editions allows the sum of the main breaker and the solar/ESS backfed breaker to reach 120% of the busbar rating. On a 200 A bus with a 200 A main, that leaves 40 A of backfeed — which is 9.6 kW at 240 V, and can be the binding constraint on the whole design. The standard fixes are a 225 A busbar with a 200 A main (which permits 70 A of backfeed), a supply-side connection, or a panel rated for higher busbar capacity. All three are trivial at design and expensive later.
4. The backed-up loads sub-panel
Whichever circuits are on the outage list must land in a dedicated sub-panel, physically separate from the non-backed-up loads. Deciding this during the rough-in means those circuits are simply home-runned to the right panel from the start. Deciding it later means moving circuits, which in a finished house means fishing cable.
5. Communication and shutdown provisions
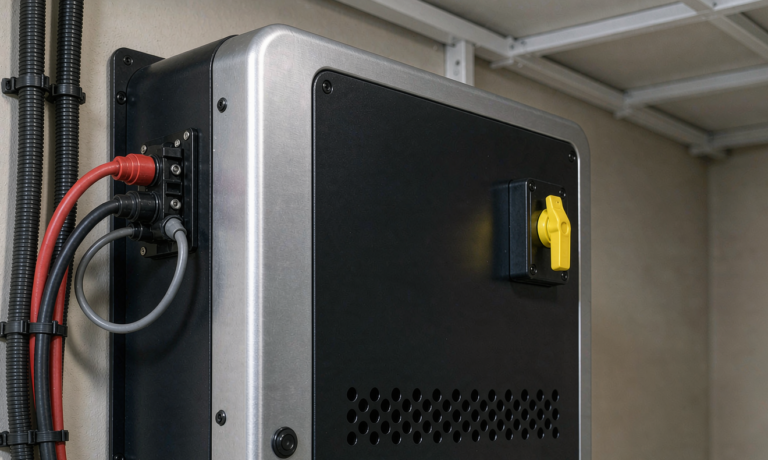
Most residential systems want a data cable — CAT6 — between the inverter/battery and the router or the meter, and many jurisdictions want an exterior, labelled rapid shutdown for the array and a visible disconnect for the energy storage system. NEC 706 requires a disconnect for ESS, and the practical question for the builder is where it lives and whether the fire service can find it. Put it next to the main service disconnect, label it, and note it on the single-line diagram that goes in the panel.
Siting: temperature, noise, and the working space nobody leaves
Three constraints decide the location, and they fight each other.
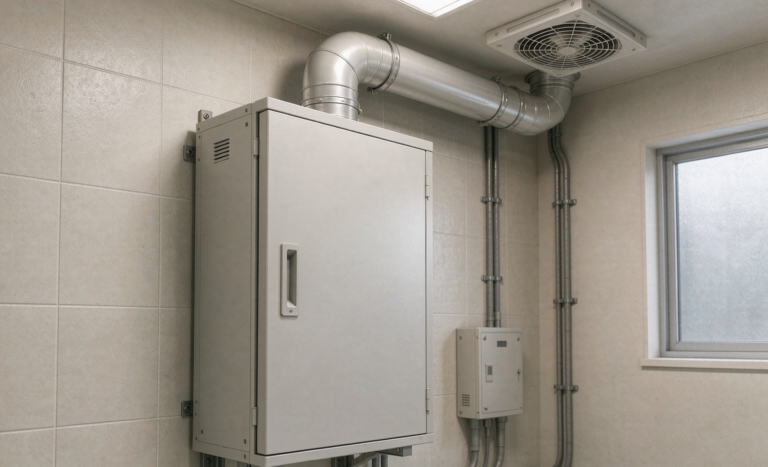
Temperature. LFP cells must not be charged below 0 °C; charging a cold cell plates lithium on the anode and that damage is permanent. Most residential cabinets enforce a low-temperature charge lockout and some include a heater. The practical consequence is that an unconditioned garage can be a hostile environment: I have logged 48 °C inside a Phoenix garage in July and −6 °C in a Minneapolis garage in January. High temperature is the more expensive problem, because calendar aging roughly doubles for every 10 K rise. Where a garage is the only option, prefer an interior wall, keep the cabinet out of direct sun through the garage door glazing, and verify the manufacturer’s operating window — many are 0–50 °C discharge and 0–45 °C charge, with optimal life between 15 and 30 °C.
Noise. Inverters have fans, and transformers and inductors hum. Measured at one metre, a residential hybrid inverter is typically 35–45 dBA under load, which is inaudible in a garage and clearly audible through a bedroom wall at 2 am. Do not put the equipment on the other side of a headboard. This is the constraint most often discovered after move-in.
Working space. Electrical codes require clear working space in front of equipment — commonly 900 mm deep, 750 mm wide and 2 m high — and it has to stay clear. I have touched more than one “utility room” where the working space became the shelf for the vacuum cleaner and the Christmas bins. If the space is not big enough to keep clear, it is not big enough for the equipment.
Additional rules that catch people out: NFPA 855 and most listings prohibit installation in sleeping rooms and clothes closets; detached dwelling occupancies have energy limits on individual units that vary by edition (check the version your authority having jurisdiction enforces, do not rely on a headline number); and units installed in garages need protection from vehicle impact — a bollard or a 1.2 m setback from the vehicle path is cheap insurance.
Codes, permits and the two documents the AHJ will ask for
Every jurisdiction is different, but the same two documents come up again and again, so get them before you bid:
- A system-level listing — UL 9540 in North America, or IEC 62619 for cells and packs plus IEC 62477-1 for power conversion equipment in IEC markets. A pack with a cell certificate is not a listed system, and a plan reviewer will tell you so.
- A thermal propagation test report — UL 9540A. This is a test method, not a pass/fail certificate in the usual sense, but AHJs and fire marshals routinely ask for the report number and read the summary. It can be a long-lead item; ask for it at bid stage, not at inspection.
Beyond those, the code family you will touch: NEC Article 705 (interconnection), Article 706 (energy storage systems), Article 710 (stand-alone systems), Article 220 (load calculations) and Article 110.26 (working space); NFPA 855 for installation; UL 1741 SA or SB and IEEE 1547-2018 for grid interconnection behaviour, including voltage and frequency ride-through and anti-islanding. In the UK, G98 covers small embedded generation up to 16 A per phase and G99 covers above that; in Germany, VDE-AR-N 4105 governs low-voltage connection. California’s Title 24 energy code already pushes new homes toward solar-ready and battery-ready construction; IECC-derived state codes are moving the same direction. Where I work across markets, the pattern is consistent: the new-home code floor is being written around electrification and storage, so designing to the current minimum is designing to next year’s retrofit.
On interconnection, one piece of advice that has saved two of my clients real money: apply for permission to operate early. Utility interconnection queues do not care that your drywall is scheduled, and a 6–10 week wait for permission to operate after the system is commissioned is a house with solar on the roof and a battery in the wall that cannot legally export.
Installation sequencing: the battery goes in late
This sounds counterintuitive for a deployment guide, but the equipment should be among the last things installed. Construction environments are hostile to electronics: drywall dust is conductive when humid and abrasive always, paint overspray is permanent, and a curing concrete slab can push a garage to 80–90% relative humidity for weeks. Every manufacturer’s installation manual specifies a clean, dry, finished environment and every warranty claim I have seen denied for environment involved either dust, moisture, or impact damage during the punch-list phase.
The sequence I recommend: rough-in at framing → electrical rough inspection → drywall, paint, flooring → trim-out of the panel and sub-panel → final electrical inspection → array installation → equipment mount and termination → commissioning → utility permission to operate → homeowner handover. The equipment delivery should be scheduled inside that final window, and the crate should not be opened until the room is finished.
Commissioning in an empty house, and how to test it properly
The peculiar difficulty of new-home commissioning is that the house has no load. A battery system commissioned against a 200 W phantom load proves nothing about its behaviour with a well pump starting. So the acceptance test has to create load.
The sequence I use, in order, and all of it recorded:
- Visual and mechanical. Every torque value on every terminal taken with a calibrated wrench to the manufacturer’s specified value, with a torque mark applied so the next inspection is visual. Transport is a torque-loss event, and loose DC terminals are a heat source.
- Insulation resistance, before anything is paralleled. A 500 V or 1,000 V megger test per string, per the manufacturer’s minimum and typically well above 1 MΩ. Once strings are paralleled you get a system-level reading and no longer know which string is the problem.
- Open-circuit voltage per module against the shipping sheet. Anything more than about 150 mV low gets isolated and investigated before it is put in service. A module that arrived with a fault will not announce itself politely later.
- Phase, polarity and rotation. Cheap to check, expensive to discover.
- Backup transfer test under real load. Open the main, confirm transfer, and confirm the backed-up panel held. Then repeat with a deliberate surge: a 1,500 W heat gun on each backed-up circuit in turn, plus the largest motor load on the list. This is where undersized inverters and miswired sub-panels reveal themselves.
- Capacity test. A full charge, a rest, and a constant-current discharge at 0.2–0.25C, measured at the point of connection so that conversion losses are inside the number. Expect 95–100% of nameplate on a healthy new system; below 90% is a conversation with the manufacturer before the homeowner moves in, not after.
- Round-trip efficiency, measured the same way you will report it. Same temperature, same C-rate, same measurement point. Comparing an AC-round-trip measured at the meter to a DC-round-trip number in a datasheet is how people end up believing they have a fault when they have an accounting difference.
All of this has to be written down, with the raw voltage and current traces, not just the summary values. I have reviewed a commissioning report that said “capacity test passed” while the trace showed one module hitting the low-voltage cutoff 400 seconds early. The summary would have hidden it until year three.
What the warranty should say, and what it usually says instead
A residential battery warranty is a document about throughput and temperature, not about time. Read for these five things:
- The capacity floor and the two limits. Typically 70% of nameplate at 10 years or a cycle/throughput figure, whichever comes first. Know which one you will hit. A 15 kWh system cycling 300 times a year reaches 3,000 cycles in a decade; make sure the throughput allowance is not below that.
- Operating window exclusions. Charging below 0 °C or operating above the stated maximum is typically excluded. If the garage will see those temperatures, the warranty does not cover the equipment the homeowner thinks it covers.
- Whether it is prorated, and over what period.
- Firmware and parts support duration. The worst outcome in this industry is not a failed module, it is a discontinued module and an eleven-week wait. Ask for a stated support period and a last-time-buy notification commitment.
- Who is the counterparty for a system-level claim. With a matched hybrid inverter and battery, one company owns the performance. With mixed vendors, the inverter vendor and the battery vendor can each point at the other, and the homeowner is the referee.
One more, specific to new builds: register the warranty at commissioning and hand the confirmation to the homeowner with the closing documents. Warranty periods that start at manufacture rather than at commissioning quietly consume months of coverage while a house waits for an occupancy certificate.
The handover pack
The builder’s job ends at handover and the homeowner’s begins, so the pack should be written for someone who has never read a single-line diagram. Mine contains: the as-built single-line; the backed-up circuits list, typed and taped inside the sub-panel door; the commissioning report with the capacity number and the DCIR baseline; monitoring credentials and a five-minute walkthrough of the app; the shutdown procedure and the location of every disconnect; the emergency contact and the warranty registration confirmation; the torque schedule and the date of the first annual inspection; and the spare parts list — usually just the service fuses and the communication cable, but write it down.
Then set expectations about the first ninety days. State of charge estimates drift a few percent a month on a coulomb-counting BMS; a full charge followed by a two-hour rest and a constant-current discharge once a quarter recalibrates it. The homeowner should know that before they call it a fault.
Frequently asked questions
How early should a home energy storage system be specified in a new build?
Before the electrical rough-in, and ideally before the panel is selected. The decisions that are expensive to reverse — service size, busbar rating, reserved panel spaces, the backed-up loads sub-panel, and the conduit routes — are all made at design or at framing. Equipment selection can wait; the provisions cannot.
Can I rough-in now and install the battery later?
Yes, and for budget reasons it is often the right call. The rough-in that makes a later installation cheap is: conduit from roof to equipment wall, conduit from equipment wall to panel, a spare conduit to the garage for an EV charger, plywood backing at the equipment location, reserved panel spaces, and a sub-panel for the circuits you would back up. Budget 400–1,200 USD now against 3,500–9,000 USD later.
Where is the best place to put the battery in a new home?
A conditioned or semi-conditioned utility room or garage wall that is not adjacent to a bedroom, out of direct sun, with 900 mm of clear working space in front and no vehicle impact path. Temperature between 15 and 30 °C is where LFP life is maximised; an unconditioned garage in a hot climate routinely exceeds that and will cost cycle life.
Can a home battery back up the entire house?
It can, but look at the arithmetic before promising it. Whole-home backup with central air conditioning typically needs 30–60 kWh of storage and a 10–12 kW inverter, against 10–20 kWh and 5–7.6 kW for a well-chosen critical-loads panel. Most homeowners who price both choose the critical-loads panel and keep the fridge, the network, the pump and a lighting circuit running.
How does the system behave during an outage if I also have solar?
With a grid-forming inverter the battery establishes the local grid, the array follows it, and the house runs indefinitely while the sun cooperates. With a grid-following system the array shuts down with the grid and the battery carries the loads alone until it is depleted. If solar during an outage matters to the homeowner, grid-forming capability is a specification line, not a feature to hope for.
Is the garage too hot or too cold for a lithium battery?
It depends on the climate. Charging below 0 °C is prohibited for LFP and every residential system I know of enforces a lockout, so a cold garage means the battery stops charging when you most want it to. Heat is the slower, more expensive problem: sustained operation above about 35–40 °C meaningfully shortens calendar life. If the garage is the only option, specify a system with a heating pad and a stated high-temperature operating range, and keep it out of the sun.
Should the system use LFP or another chemistry?
For a stationary home energy storage battery, LFP is the default: 4,000–6,000 cycles at 90% depth of discharge, a flat voltage curve the BMS handles predictably, better thermal stability than NCM, and a mature supply chain. NCM buys roughly 20–30% more volumetric energy density, which matters in a vehicle and rarely matters in a garage. A semi-solid state battery makes sense where the volume really is constrained; the trade is stack pressure that the enclosure must maintain for a decade. A sodium ion battery is an interesting fit for a stationary buffer in a cold climate and a poor fit where energy density drives the cost of the installation.
What size system suits a 2,000–3,000 sq ft new home?
For a critical-loads design, 10–20 kWh with a 5–7.6 kW inverter covers most of them. The right way to answer is the arithmetic above: measure the average critical load, choose an autonomy duration, and divide by the usable depth of discharge and the round-trip efficiency. A home that averages 900 W of critical loads over a 12-hour overnight window lands at about 13 kWh.
What documents should the builder hand over at closing?
The as-built single-line diagram, the list of backed-up circuits, the commissioning report including the capacity test result, the warranty registration confirmation, monitoring credentials, the shutdown and disconnect locations, and the date of the first annual inspection. Those seven items turn a battery from a black box on the wall into a system the homeowner can own.
Do I need a custom battery solution for a new home?
Almost never. A catalogue residential system is the right answer for the overwhelming majority of houses, and it is what I recommend first. A custom battery solution becomes the right answer when the mounting envelope is dictated by the architecture, when the operating temperature window is permanently outside the catalogue range, when the BMS must speak to a specified home automation or building management system, or when serviceability requires module weight, handle placement and connector orientation to be designed around a specific wall. If two or more of those are true, talk to a manufacturer early — because the envelope has to be designed into the house, not negotiated with it.