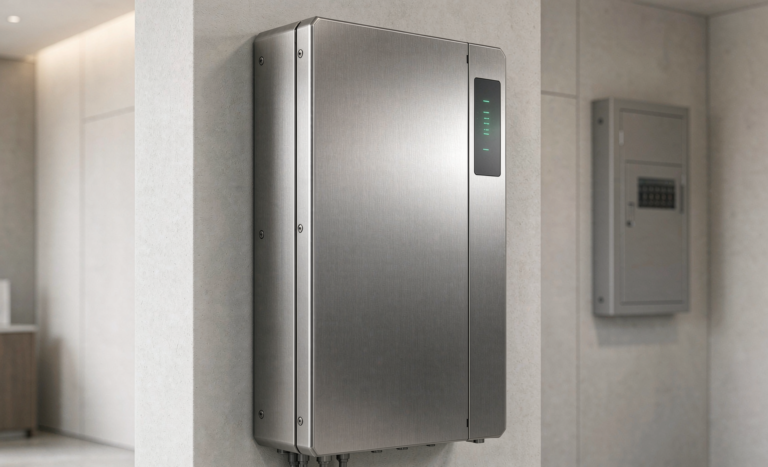
Home Energy Storage for Home Recording Studios
Every studio quote I write starts with a meter review rather than a capacity chart. A home recording studio is one of the least obvious applications for home energy storage and one of the most demanding, because the listener hears a power problem that a furnace or workshop would never notice. This article covers the load audit, the noise constraints, the pack sizing and the wiring decisions that decide whether an install succeeds.
What a Home Recording Studio Actually Draws
A studio load profile looks nothing like a household one. There is no oven, no induction hob, no compressor cycle, just a long flat base draw from a workstation and a short burst when the drive array spins up. In my audits of three rooms, the continuous draw sat between 220 and 340 watts during a session, with the largest transient a 900 to 1,100 watt spike under two seconds as the workstation booted its array.
Break a typical session down and the numbers are predictable. A desktop DAW workstation sits at 90 to 140 watts idle and 180 to 320 watts under a heavy plug-in session. A USB or Thunderbolt audio interface adds only 15 to 45 watts. A pair of 6.5 inch studio monitors draws 40 to 90 watts at rest and 120 to 180 watts at reference level. Six condenser mics on 48 volt phantom power add five to fifteen watts in total. Add a 30 to 40 watt display and the entire signal chain quietly consumes about a quarter of a kilowatt for hours.
The load that distorts this picture is lighting. Two LED panels at 300 watts each outweigh every piece of audio gear combined, and producers reach for them exactly when a client is in the room. Include the lighting in the calculation rather than discovering it at midnight. For most customers the honest working figure is 250 watts for eight hours of tracking, an energy budget under 2.5 kilowatt hours before inefficiency.
Inverter Ripple and Ground Loops: The Real Engineering Problem
Capacity is the easy part. The reason a studio battery install fails is acoustic. A modified sine inverter switches at 2 to 4 kilohertz, and that switching energy leaks through the common mode of an audio interface power supply and lands as a buzz on a condenser capsule. I have measured 30 to 60 millivolts of ripple on the DC rail of a budget inverter feeding a 48 volt phantom supply, and on a 120 decibel converter that ripple is audible on headphones with the gain wide open.
The correct specification is quieter than you expect. Look for a pure sine topology with total harmonic distortion under one percent and output ripple below 20 millivolts. Where an interface supports it, the cleanest architecture is DC coupling: the pack feeds a regulated supply inside the interface, so no inverter switches near the audio path.
Grounding is the second half of the same problem. A pack is bonded to earth through the inverter chassis, and if that circuit shares an earth with the building panel you can create a 50 or 60 hertz ground loop of 30 to 80 millivolts between the interface and the console. The fix is boring and reliable: one deliberate earth point, an XLR ground lift on mic runs between boxes, and a 1:1 isolation transformer on an independent feeder.
Sizing the Pack Around a Real Session
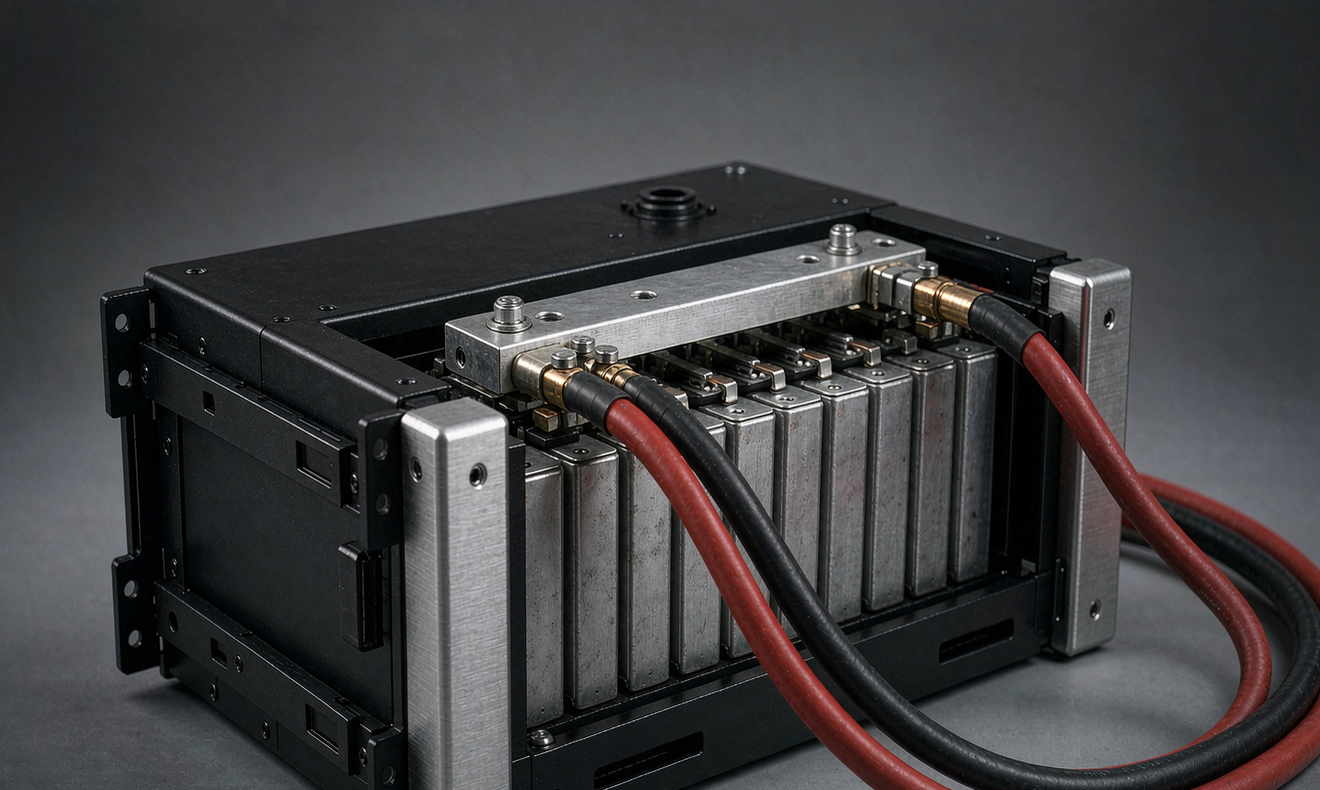
Work backwards from the session, not from the room. Take the 250 watt working draw, multiply by the six hours you actually book, and you land at 1.5 kilowatt hours of delivered energy. Divide by an inverter efficiency of 92 percent and an usable depth of discharge of 80 percent and the nameplate requirement rises to roughly 2.0 kilowatt hours. Add two hours of 600 watts of LED lighting and the requirement climbs to about 3.2 kilowatt hours. That is a single 51.2 volt, 60 to 100 amp hour rack module for most people, not the whole basement.
Peak power deserves the same discipline. A 4 kilowatt peak with the workstation spinning up plus full lighting on a 51.2 volt bus is about 80 amps, so the inverter should be rated 5 kilowatt continuous and the DC run should be 6 AWG copper with a 100 amp fuse at the battery, sized for a two to three percent voltage drop over the longest run. Undersized cable here does not just waste energy; it raises ripple at the interface precisely when the transient hits.
One tip from the field: log your actual draw for two weeks on the studio feeder before ordering. In about one job in four, the producer assumed a kilowatt of workstation draw when the machine idled at 110 watts, and the oversized pack cost more than the interface.
Lithium Rack Versus AGM for a Weekly Session
Producers who record twice a week often start with absorbed glass mat batteries because they are cheap and familiar. They are the wrong tool. A deep cycle AGM in a studio is rarely cycled below 50 percent state of charge, so you pay for 1200 cycles and get 300 to 500 shallow ones while internal resistance climbs and voltage sags under a monitor transient. Round trip efficiency lands at 78 to 84 percent, so every session eats its own energy as heat.
A lithium iron phosphate rack in the same slot gives 6000 to 10000 cycles at 80 percent depth of discharge, 92 to 96 percent round trip efficiency, and a flat discharge curve that holds voltage steady while a transient passes, which is exactly the behaviour an amplifier prefers. The same 5 kilowatt hour capacity weighs 60 to 65 kilograms in LFP against 115 to 120 kilograms of AGM, and there is no monthly gas Evolution to vent into a closet that already has acoustic foam on the walls.
The trade-offs are real. The rack costs two to three times the battery cost of an AGM bank and needs a battery management system with cell balancing and over temperature shutdown. For a room running eight to fifteen sessions a month, the cycle life pays the difference back inside five years.
Certification and installation basics
Ask for UL 9540 and UL 9540A flame propagation data on the assembly, a UL 1973 or IEC 62133-2 qualified cell, and UN38.3 test reports for transport. For interconnection, the installer works to NEC 705 and 706, uses an AFCI breaker where the code requires it, and keeps the pack on a dedicated feeder with its own surge device. Nothing in that list is specific to audio, and skipping any of it will cost more than the battery itself.
Wiring, Phantom Power and Where the Rack Goes
Phantom power is the detail that catches people. The 48 volt studio rail is not the battery bus; it is produced inside the interface or a small injector from the local supply, carrying only 1 to 5 milliamps per mic. Long XLR runs ignore the battery but not earth return, which is why a single earth point matters. Keep DC cable away from balanced mic runs, use twisted pair, and never parallel a battery feeder with an unshielded instrument lead.
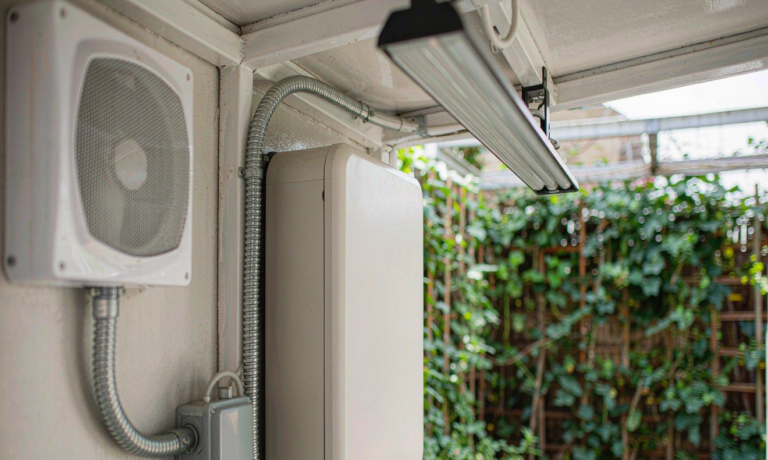
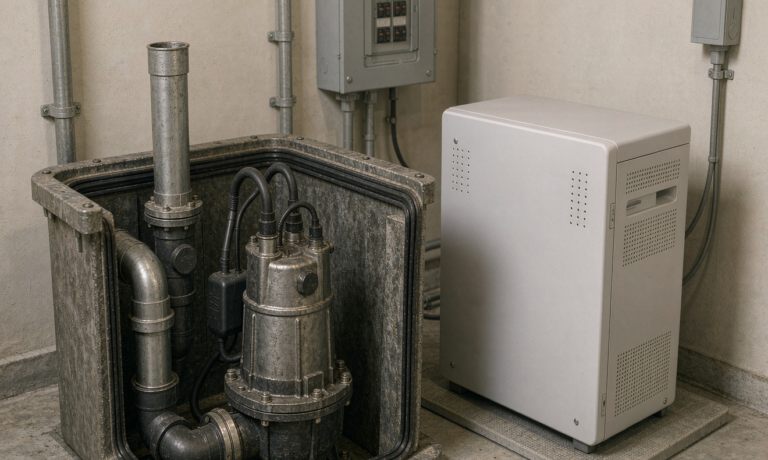
Placement is mostly an acoustic decision. A rack in the corner of the live room will pick up fan bleed into a condenser, so put it in a closet, under a stair or in the corridor with the vent grille facing open air. LFP wants 25 to 35 degrees Celsius and tolerates 40 to 60 percent humidity, but it needs ventilation: a sealed cupboard turns a 100 watt inverter loss into a hot box.
Finally, give the rack a home nobody kicks. I have replaced two batteries damaged by a cable pulled through a doorway, voiding the warranty because the enclosure had been opened. A wall bracket and a labelled disconnect solves it for the life of the system.
What This Means If You Record Twice a Week
For a typical home studio the answer is unglamorous: one 51.2 volt lithium module, a 5 kilowatt pure sine inverter under one percent distortion, a dedicated fused feeder, a single earth point and a ventilated closet. That configuration delivers eight hours of tracking, keeps the noise floor clean on a 120 decibel converter, and outlives a lead acid bank’s year two voltage sag. Home energy storage for home recording studios is not about running the whole house; it is about one quiet, clean circuit that keeps the converters happy.
The part most installers get wrong is treating a studio like a small house. Quiet power is the product here, not raw kilowatt hours, and the difference between a clean install and an unusable one is usually 20 millivolts of ripple and one earth point.
How big a battery do I need for a home recording studio?
For eight hours of tracking at around 250 watts, allow 2.5 to 3.5 kilowatt hours of usable capacity. Multiply your real working draw by session hours, then divide by inverter efficiency of 0.92 and an usable depth of discharge of 0.8. Most three person setups land on a single 51.2 volt module rather than a full home system.
Will a battery backup put hum into my audio interface?
It can, if the inverter is a modified sine unit with 2 to 4 kilohertz switching. The switching energy leaks into the interface supply and shows as a buzz on condenser capsules. Specify a pure sine inverter with under one percent total harmonic distortion and ripple below 20 millivolts, or DC couple the interface straight to the pack.
Can I run studio monitors and condenser mics from an inverter?
Yes. Monitors and condenser mics draw little power and tolerate the battery comfortably. The risk is not capacity but grounding: a battery backed circuit bonded to the building earth can create a 50 hertz ground loop of 30 to 80 millivolts. Use one earth point, XLR ground lifts where needed, and a 1:1 isolation transformer if the loop persists.
Is lithium worth it over AGM for a studio that records twice a week?
Usually yes. AGM banks in studios are rarely cycled past 50 percent discharge, so they see 300 to 500 shallow cycles against 6000 to 10000 for lithium iron phosphate, with 78 to 84 percent round trip efficiency against 92 to 96 percent. The lighter rack also removes the venting question from a windowless room.
Where should the battery rack sit in a recording room?
Outside the live room. A rack fan at 35 to 50 decibels will bleed into a condenser and cost you a take. Put the pack in a closet, hallway or under a stair with the vent grille facing open air, keep it at 25 to 35 degrees Celsius, and leave it accessible for the disconnect.
Do home studio battery systems need special certification?
UL 9540 and UL 9540A for the installed assembly, cells qualified to IEC 62133-2 with UN38.3 transport reports, and NEC 705 or 706 interconnection practice with an AFCI breaker where required. None of it is audio specific, but the inspection will ask for it before the first session.
Further Reading
References