Home Energy Storage Maintenance for New Homes
I have commissioned more than forty home energy storage systems in new construction over the last three years, and the pattern is always the same. The crew mounts the cabinet, the electrician powers it up, the homeowner watches the app light up, and within a month nobody has touched the torque marks again. Then a year later a busbar loosens from thermal cycling, a breaker is never reset after the load shed test, and the warranty paperwork cannot be found. That is the gap this guide closes. A home energy storage system in a new home behaves differently from one retrofitted into an existing property because the house, the loads, the ventilation, and even the paint are still off-gassing and moving. Your maintenance plan has to be tuned to that first year.
Why New-Home Storage Needs Its Own Maintenance Plan
A residential battery in a brand-new house lives in a slightly hostile environment for the first six months. Drywall dust and joint compound are still curing, paint off-gassing carries solvents into the utility room, humidity swings as the HVAC is finally balanced, and the building itself shrinks. Those conditions change how a home battery ages. Three realities drive a different schedule:
- Thermal expansion in a freshly framed wall is not finished. Busbars and busbar bolts settle differently than they will in a stable retrofit, so torque marks drift more in months 1–6 than they will in years 2–5.
- Construction debris clogs airflow faster. Drywall compound and sawdust pack into fans and filters that the manufacturer’s installer spec sheet assumes are clean. Restricted airflow is the single biggest hidden cause of capacity loss in new builds.
- Warranty paperwork lives in a moving box. Most manufacturer warranties for residential storage (UL 1973 cell certificates, UN38.3 transport summaries, IEC 62133-2 cell tests, IEC 62619 pack tests, IEC 63056 for stationary applications, UL 9540A installation test data, and NFPA 855 spacing documentation) must be filed before commissioning. Lose them in the move and a future claim becomes very hard to win.
The commissioning sign-off, not the install day, is the start of your maintenance clock. Treat week one as an audit, not a celebration.
Pre-Power-On Commissioning (Week 1)
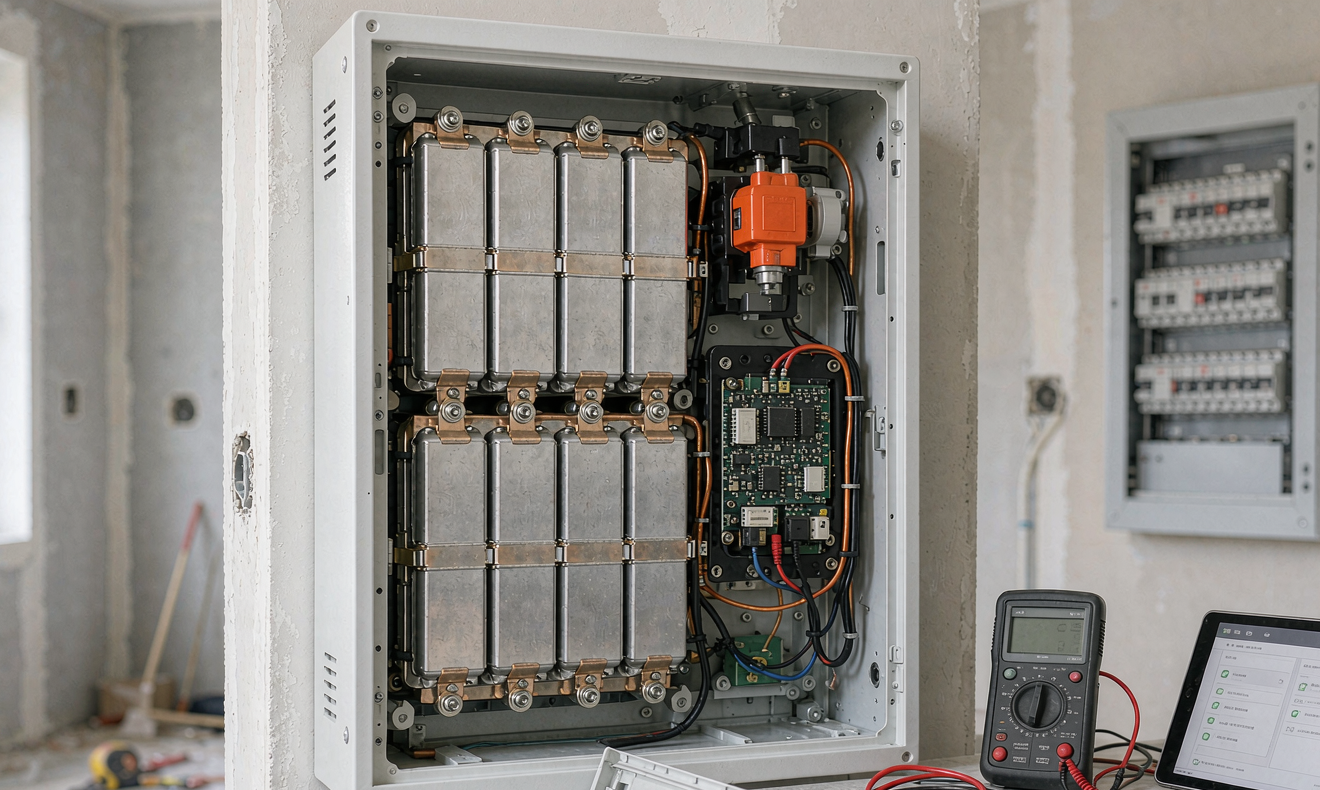
Do not energize the system on the day the electrician leaves. Block ninety minutes the next morning, ideally with the installer or a third-party commissioning agent, and walk through the following. This is the same checklist I run on every new home energy storage install. Keep the printed copy with the warranty folder.
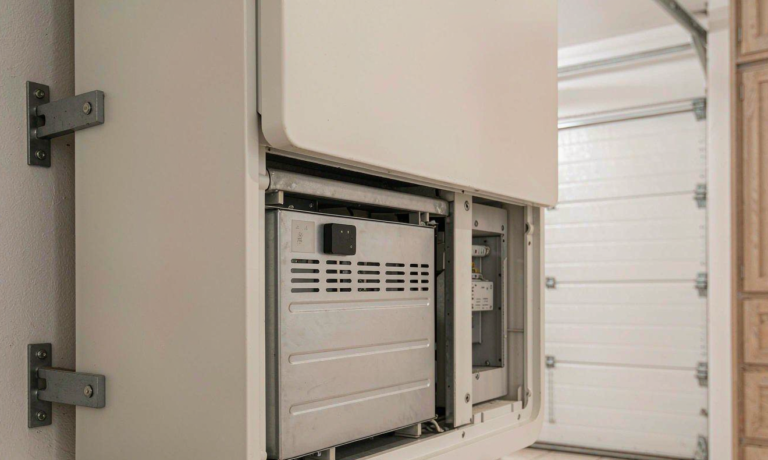
- Torque audit. Pull the front panel and check every busbar bolt with a calibrated torque wrench. Most LFP packs ship at 8–10 N·m for M6 studs, 4–6 N·m for M5 signal leads, and 12–14 N·m for M8 power terminals. Anything below spec gets a yellow paint pen mark so future drifts are visible.
- Voltage map. With the breaker open and the BMS awake, read each series string voltage on the diagnostic port. A healthy 16S LFP string at 50% state of charge sits at 52.8–53.6 V. Cell-to-cell delta should be under 30 mV; a 50 mV delta on day one means an early cell balance issue that the BMS will hide but the warranty will not.
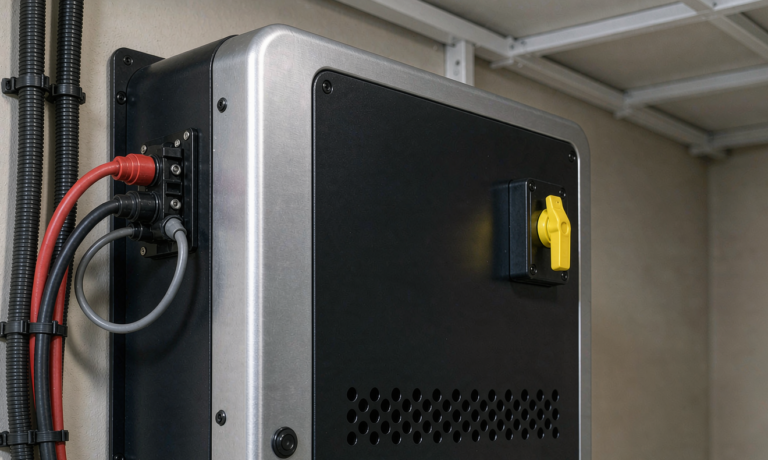
- Connector pull test. Every orange high-voltage connector, every signal lead, and every Anderson-style output should take a firm hand-pull with no movement. Loose connectors at commissioning are the leading predictor of arc-track faults in year three.
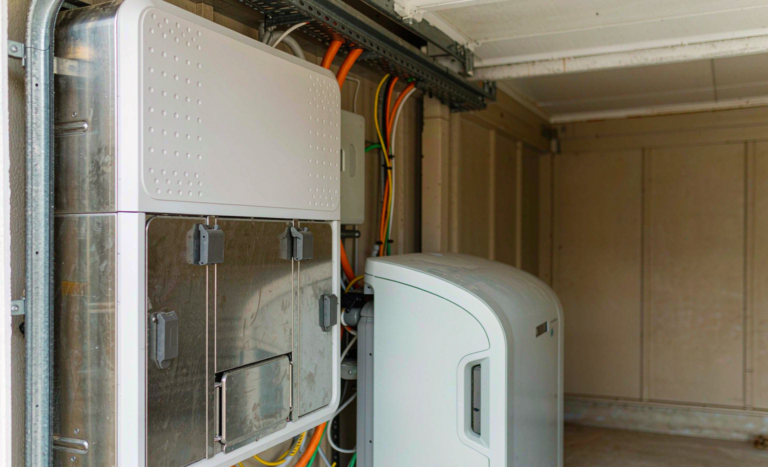
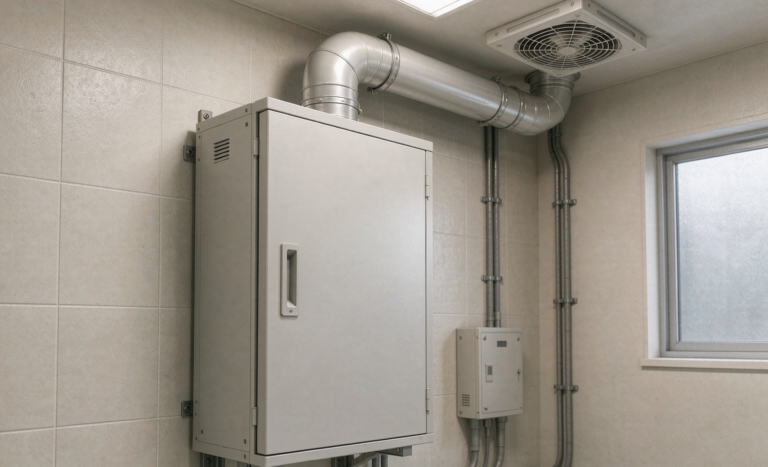
- Airflow and filter inspection. Verify intake and exhaust are clear of drywall dust, and confirm there is at least 100 mm clearance on all sides per the install manual. If the cabinet has a removable filter, photograph its condition. New-build dust will clog that filter three times faster than the spec assumes.
- Grounding and bonding. Bonding between the battery chassis, the inverter chassis, and the house ground must measure under 1 Ω. A loose bonding jumper looks invisible but trips GFCI breakers randomly and can confuse DC leakage detection in the BMS.
- Document download. Pull the cell date codes from the BMS diagnostics, save the inverter logs, screenshot the commissioning wizard, and email the bundle to yourself. This single step has saved more warranty claims than anything else on this list.
Anything that fails on this list gets fixed before the system is closed up. Commissioning is the cheapest moment to do it.
First 30 Days: Breaking In Without Breaking the Cells
LFP cells do not need a traditional “break-in,” but the BMS does. Most residential firmware completes a learning cycle after 5–10 full charge-discharge cycles, which means the state-of-charge estimate can drift 4–8% during the first month. Plan maintenance around that reality.
Run the system through two intentional full cycles in week one: charge to 100% as recommended for cell balancing, hold for two hours, then discharge to the inverter’s low-voltage cutoff. Repeat once more mid-month. After that, the residential battery should be kept between 20% and 90% state of charge for daily operation, with a full 0–100% cycle only once a month for the BMS to refresh its coulomb counter. This pattern, recommended across IEC 62933 series guidance for stationary storage, preserves capacity without inflating the calendar-aging curve.
During the first month, also:
- Recheck torque marks at day 30. New-construction thermal cycling on a freshly framed wall will cause more drift in this window than in any subsequent six-month period.
- Inspect the air filter weekly for the first month and clean as needed. Once the dust from construction settles, monthly is fine.
- Verify the inverter’s grid-loss detection by simulating a power outage. The backup circuit should isolate within 100 ms and the battery should pick up the loads without flicker.
- Confirm the mobile app is logging every event. Open the dashboard and walk through history, alerts, and settings screens. If anything is grey, that is a setup bug to chase now, not in year three.
Months 1–12: Year-One Routine That Preserves the Warranty
A new-home home energy storage install needs a tighter cadence than a retrofit. The schedule below is what I leave on the fridge for every commissioning customer.
Monthly (10 minutes)
- Visual inspection: front panel, cable glands, status LEDs.
- Connector check: any discoloration, dust, or click looseness on the orange HV connectors.
- Inverter log review: any fault codes, even transient ones, get written into a one-page log with date and ambient temperature.
Quarterly (45 minutes)
- Torque walk: paint-pen mark verification, re-torque any bolt that has drifted more than 1 N·m.
- String voltage and cell delta read, recorded against last quarter’s baseline. Drift over 50 mV is a yellow flag, over 100 mV is a red flag.
- DCIR spot check: at 50% state of charge, apply a 0.5C 10-second pulse from the BMS diagnostic tool and record the result. The first reading is your baseline; anything 30% higher in year two is a degradation flag.
- Thermal scan: handheld thermal camera on busbars and connectors under a 0.5C load. A 6 °C delta between phases is normal; above 10 °C is a torque or contact issue.
- Air filter inspection and cleaning.
Annually (half day, ideally spring)
- Full state-of-health capacity test. Charge to 100%, hold for two hours, discharge to the inverter’s low-voltage cutoff at 0.2C, and record delivered amp-hours. Compare against nameplate. Anything below 95% in year one is worth opening a ticket with the manufacturer.
- Firmware update per the manufacturer’s release notes. Read the changelog before flashing.
- Replace the cabinet ventilation filter if it is the disposable kind.
- Torque re-certification: re-mark every bolt with yellow paint and log the values.
- 500 V insulation resistance test on the DC bus if the system is over 48 V. Anything under 1 MΩ needs a moisture investigation.
- Warranty document refresh: confirm date codes, commissioning report, and any firmware version records are current.
Five-year deep audit
At the five-year mark, plan a teardown inspection: pull the busbars, inspect for oxidation, replace any connector showing wear, and re-run the same DCIR baseline you took in month three. If the value has climbed more than 50%, begin planning the end-of-warranty conversation. Most residential LFP packs are warrantied for 10 years or 80% capacity, whichever comes first.
Seasonal Tasks for a House That Hasn’t Settled Yet
New construction behaves differently each season. In year one, expect:
- Spring: humidity rises as the HVAC balances. Check for any condensation marks on the cabinet interior and confirm the desiccant pack (if your cabinet has one) is dry.
- Summer: the highest internal temperatures. The cabinet will throttle charge above 45 °C ambient. Verify the ventilation fan runs and the intake is unobstructed.
- Fall: the first sustained cool snap. This is the moment the BMS cold-charge cutoff becomes relevant. Make sure it is enabled; charging an LFP cell below 0 °C causes irreversible lithium plating that the BMS cannot detect until it is far advanced.
- Winter: if the utility room is unfinished or unconditioned, the cabinet may see prolonged cold soak. The state-of-charge window should shift upward by 10–15% during deep cold weeks to reduce effective stress on the cells.
None of this is unique to a new home, but the framing around the cabinet is still moving in year one, and that movement shifts how the cabinet breathes.
Common Mistakes That Void Coverage on Brand-New Systems
Across the warranty claims I have reviewed in the last two years, five issues appear over and over:
- Loose bonding jumpers after the first six months. The fix is a torque audit at month six, not a callback in year three.
- Firmware drift. If the inverter firmware is two major versions behind, some manufacturers will deny a BMS-related claim. Update annually, document the version.
- Modified ventilation. Homeowners add shelves, boxes, or hanging cords that block the cabinet’s airflow. Maintain 100 mm clearance on every side and label the floor in front of the unit.
- Missed capacity tests. A capacity test is the only honest indicator of long-term health. Without one in years one, three, and five, a warranty claim is hard to win.
- Lost commissioning documentation. The single biggest preventable cause of denied claims is missing paperwork. Scan the entire commissioning folder the day it arrives and keep a copy in cloud storage tied to the property address.
The first year of any new-home storage system is paperwork-heavy and torque-heavy. After that, the system settles into a quieter rhythm. The homeowners who follow this cadence in year one almost never have a serious problem later.
FAQ
When should the first maintenance check happen after move-in?
Within 30 days. Thermal cycling on a freshly framed wall is most aggressive in the first month, and torque marks drift more in that window than in any subsequent six-month period. Recheck every bolt, confirm cell delta is under 30 mV, and verify the air filter is clean.
How often should I run a full charge cycle on a residential battery in year one?
Two intentional full cycles in the first month to give the BMS a learning window, then one full 0–100% cycle per month afterward. Daily operation should stay between 20% and 90% state of charge; this is the IEC 62933-recommended pattern that minimizes calendar aging while still refreshing the coulomb counter.
Do I need to do anything different if my utility room is unconditioned?
Yes. Cabinets in unconditioned spaces see wider temperature swings and benefit from shifting the state-of-charge window up by 10–15% during sustained cold snaps. Also confirm that the cold-charge cutoff is enabled in the BMS settings; charging an LFP cell below 0 °C causes irreversible lithium plating.
What paperwork should I keep on file for warranty purposes?
The commissioning report, every cell date code, the UN38.3 transport summary, the IEC 62133-2 or IEC 62619 cell test certificate, the UL 1973 pack certificate, the UL 9540A installation test data, the NFPA 855 spacing documentation, the firmware version history, and the torque audit log. A scanned folder in cloud storage tied to the property address is the most resilient way to store it.
Can I run the backup function test myself?
Yes, but schedule it. Simulate a grid outage with the inverter’s built-in procedure, not by flipping the main breaker, and do it once a quarter. Confirm the backup circuit isolates within 100 ms and that the battery picks up the loads without flicker. Any unexpected behavior is a service ticket, not a do-it-later.