Battery Solution Cost Optimization for Robotics: An
Why Robotics Presents a Different Cost Equation
Robotics buyers almost always benchmark a new pack against the price of laptop or e-bike cells they can buy on a distributor website. That comparison is the first and most expensive mistake I see. A lithium battery for a robot is not a loose cell you tape to a frame. It is a safety-critical, structural subsystem that lives inside a machine that moves, gets bumped, charges on a dock between shifts, and is expected to deliver the same torque at hour 8,000 as it did at hour 8. When you treat a robotic battery application solution as a commodity, you optimize the wrong number.
In my experience the real cost driver is not the cell price per watt-hour. It is the combination of cycle life, unexpected downtime, warranty returns, and recertification after a mid-program change. A battery solution that costs 12% more upfront but lasts 60% longer usually wins on total cost of ownership. The optimization work, then, is about removing waste without removing margin.
Step 1 — Right-Sizing Capacity With Real Mission Profiles
The single biggest source of hidden cost is over-capacity. Engineers, nervous about runtime, spec a pack 25 to 40% larger than the mission actually needs. That surplus is dead weight you pay for three times: in cells, in the enclosure, and in the charging infrastructure. Before we cut a single component, our team puts a data logger on a representative robot and records the true duty cycle for at least one full week.
What the trace almost always shows is that average current is a fraction of peak current, and that regenerative braking or arm-lowering returns energy the naive estimate ignores. We then size the pack to the 95th-percentile mission, not the absolute worst case, and we add a transparent safety margin rather than a panic margin. For industrial cells we design against the IEC 62619 endurance and abuse profile, because that standard reflects how a pack behaves in a real machine rather than on a lab bench.
This step alone, done properly, is often a custom battery solution that costs 15 to 20% less than the original quote while delivering identical field runtime.
Step 2 — Cell Selection and the Dollar-per-Watt-Hour Trade-off
Once the capacity is honest, the next lever is chemistry. For most ground-based robotics, lithium iron phosphate (LFP, LiFePO4) beats nickel manganese cobalt (NMC) on cost per cycle even though its energy density is lower. You trade a little volume for roughly double the cycle life and dramatically better thermal safety margin. On a robot where space is available but downtime is not, that trade is almost always correct.
Within a chemistry, the cell format matters. Cylindrical 21700 cells are easy to source and weld, but a prismatic or large-pouch format can cut the number of interconnections and the labor hours in assembly. We model the bill of materials at realistic production volume, because a cell that is two cents cheaper per watt-hour but requires twice the welding steps can be the more expensive choice at scale. The right battery pack design starts with the cell decision, not after it.
Step 3 — Battery Pack Design That Reduces Assembly Cost
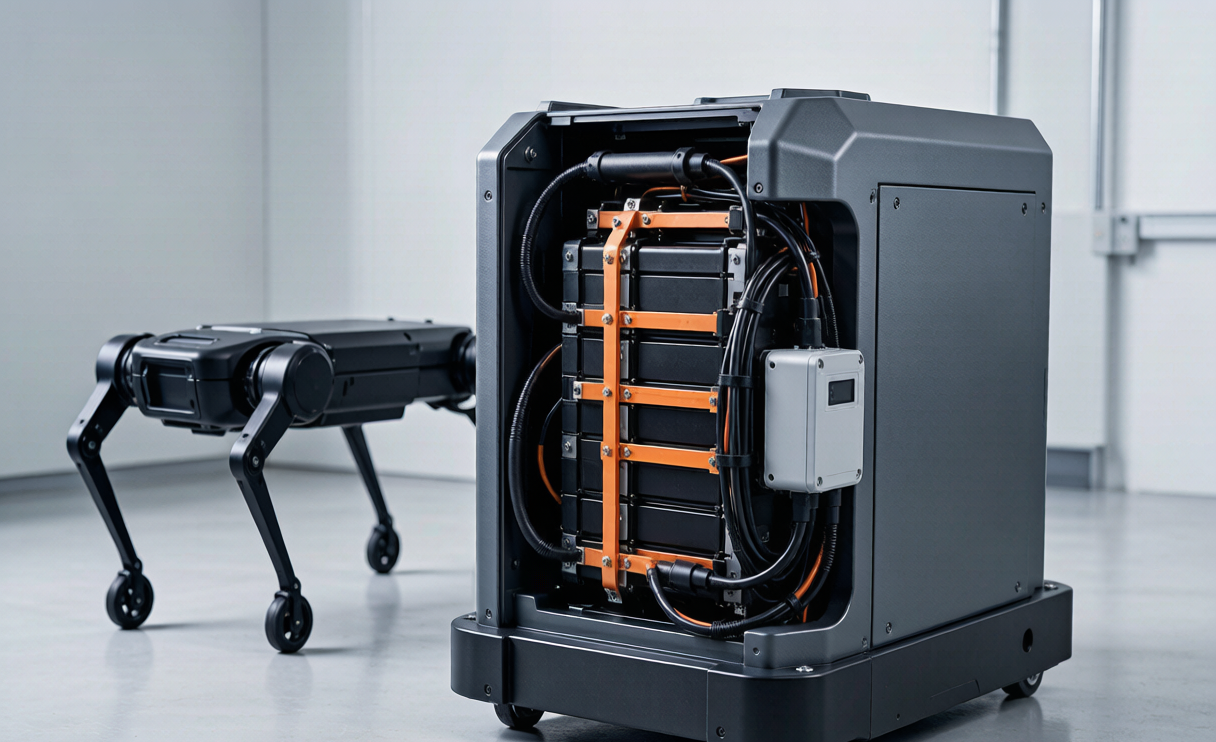
A large share of pack cost is labor and scrap, not materials. I have watched two packs with nearly identical cells differ by 30% in build cost purely because of how they were designed. Modular architectures with standardized cell holders, laser-welded busbars, and a minimized part count assemble faster and fail less often on the line. Design for manufacturing (DFM) is not an afterthought; it is where the cost optimization becomes real.
We also design the enclosure and sealing up front for the environment. A warehouse AMR that occasionally meets floor dust and occasional wash-down needs an IP rating planned per IEC 60529, typically IP54, but we avoid over-specifying to IP67 if the use case does not require it, because every seal level adds cost and weight. A focused battery pack design review in the first two weeks prevents the expensive late change orders that destroy program margins.
Step 4 — The BMS and a Sensible Custom Battery Solution Architecture
The battery management system is where reliability is either bought or lost. A good BMS solution does far more than prevent over-charge. It balances cells, estimates state of charge accurately, logs faults, and protects against short circuits and thermal events. Passive balancing is cheaper and sufficient for many robotics loads; active balancing only pays off when cell mismatch is large or the pack is very expensive to replace.
For a custom battery solution we match the BMS topology to the robot’s communication bus, usually CAN or RS485, so the robot controller can read state of health and plan charging. This visibility is what lets a fleet operator schedule maintenance before a pack fails on the floor, which is the difference between a planned swap and a line-down emergency. We design the BMS to the relevant safety envelope and keep its EMC behavior clean so it does not interfere with the robot’s own sensors.
Step 5 — Certification Planning That Avoids Costly Rework
Nothing destroys a cost-optimization budget like a late certification failure. A lithium battery shipped by air or sea must pass UN38.3, the eight-test transport battery safety sequence, before it can legally move. Design changes after those tests mean re-testing, and re-testing is never cheap. We plan the certification path on day one.
For the cell and pack safety we design to IEC 62133-2, and for industrial stationary-adjacent energy storage behavior we reference IEC 62619 and, where the pack sits in a charging cabinet, IEC 63056 and UL 1973. The BMS and its firmware need EMC and, in many markets, FCC-style compliance. By locking the bill of materials and the enclosure before testing, a custom battery solution clears certification the first time instead of the third time. That discipline is a direct, measurable cost saving.
Step 6 — Total Cost of Ownership, Not Sticker Price
The metric that actually matters is cost per delivered robot-hour, not cost per kilowatt-hour. A lithium battery priced low that loses 30% capacity in a year forces an early pack replacement and a robot off the line. A slightly more robust pack rated for 2,000 to 4,000 LFP cycles, with a BMS that protects it, can outlast the robot’s useful life and turn the battery from a recurring cost into a sunk one.
We build a simple TCO model with the customer: cell cost, assembly cost, expected cycles, failure rate, and warranty exposure. That model is what lets a procurement manager see why a battery solution that looks expensive on the quote is cheaper across the fleet’s life. Optimization is not about the lowest number on one line; it is about the lowest number on the whole spreadsheet.
A Field Example — A 22% Cost Reduction on a Warehouse AMR Pack
One recent program is a good illustration. The customer’s first quote for a warehouse autonomous mobile robot specified an NMC pack sized for a worst-case runtime that the duty cycle never reached. We logged a full week of missions, right-sized the capacity, and switched to an LFP prismatic format. We re-architected the battery pack design with laser-welded busbars and a modular holder that cut assembly time roughly in half. The BMS solution was simplified to passive balancing with CAN reporting.
The result was a custom battery solution that cost about 22% less per pack, weighed less, and delivered longer cycle life, while still meeting IP54 per IEC 60529 and surviving the vibration profile of IEC 60068-2-6. It cleared UN38.3 and IEC 62133-2 without a single redesign loop. The customer’s cost per robot-hour dropped, and their warranty exposure dropped with it. That is what real battery solution cost optimization for robotics looks like: less waste, same or better performance.
Frequently Asked Questions
How much can a custom battery solution reduce robotics battery cost?
In programs where we start from an over-spec’d quote, a 15 to 25% reduction in pack cost is common, achieved through right-sizing, chemistry selection, and design-for-manufacturing rather than by using cheaper, less reliable cells. The savings come from removing waste, not from cutting safety margins.
Is LFP or NMC better for robotic battery solutions?
For most ground robotics, LFP (LiFePO4) is the better economic choice because of its longer cycle life and superior thermal safety, even though NMC offers higher energy density. When weight or volume is the hard constraint, such as in long-endurance aerial drones, NMC or semi-solid formats may win despite the higher cost per cycle.
What certifications does a lithium battery for robotics need?
At minimum, UN38.3 for transport, IEC 62133-2 for cell and pack safety, and IEC 62619 for industrial applications. Depending on the market, EMC and wireless compliance for the BMS, plus IEC 63056 or UL 1973 where the pack charges in a stationary cabinet, are also typical requirements.
How do you size a battery pack for a robot’s duty cycle?
We log the real mission for at least a week, capture average and peak current including regenerative recovery, and size to the 95th-percentile mission with a transparent safety margin. This avoids the common trap of over-capacity, which triples the cost through cells, enclosure, and charging hardware.
Why is battery pack design important for cost?
Assembly labor and scrap often rival cell cost. Modular holders, laser-welded busbars, and a minimized part count cut build time and field failures. Good battery pack design also makes certification smoother, because a clean, repeatable structure is far easier to test and qualify than a hand-built one.